Pop to Toeside with a Tweaked Grab
Technique / Beginner
If you’re already a happy popper and relish the opportunity to give your fins a breath of fresh air whilst spinning your board around and stomping it to toeside, then this move is for you. Popping to toeside is already fully fun and functional, but when you add on a cheeky grab and a styled-out tweak, it transforms the normal into something more dynamic, stylish and fresh.
The plan is to grab the nose of the board, either on the tip or around the fin on your heelside edge. This will still allow you to bring your board around to toeside but with some icing on top. And then, for extras, a big plump cherry on top, you’ll bone out your rear leg as you bring the board through. A tasty treat, if ever there was one.
Now grab and tweak apart; the main difference between this and your daily pop to toeside will be height. Typically, allowing your fins a quick gulp of air is all you need to get around. However, you’ll need a bit more pop to give yourself the space and time to add the embellishments. This also means that you won’t be landing toeside on an edge; you’ll be landing far more of the wind on a flat board before carving back onto your edge. And finally, everything in moderation. You need to pop a bit more, or you can go bananas. The choice is yours, but to start with, may we suggest giving it just a bit more than you already do.
Right, that’s enough for our waffle. Let’s see how you get the extra pop and how to coordinate the grab and tweak!
Pop Approach Pic A.
There’s more to a bigger pop than just flexing your quads. Your approach is responsible for much of it. To get more from your stamp, you will need to bear away before carving up. As alluded to above, start with just a little bit; you’re not aiming for the moon. By approaching on an edge and then turning the board off the wind, you have three potential advantages.
Firstly, you’ll accelerate. Whether this benefits you will depend on the conditions. If you’re hanging on for grim death, adding a few knots isn’t going to help much. However, if you’re comfortably powered and it’s perfect learning conditions, speeding up will liven up your board, making it happier to pop.
Secondly, as you bear away, your kite drops slightly deeper (more downwind of you) in the window. This means you’ll have some downwind pull to pop against, which will help you land with momentum.
Finally, by bearing away, you can carve hard without turning fully into wind and grinding to a halt.
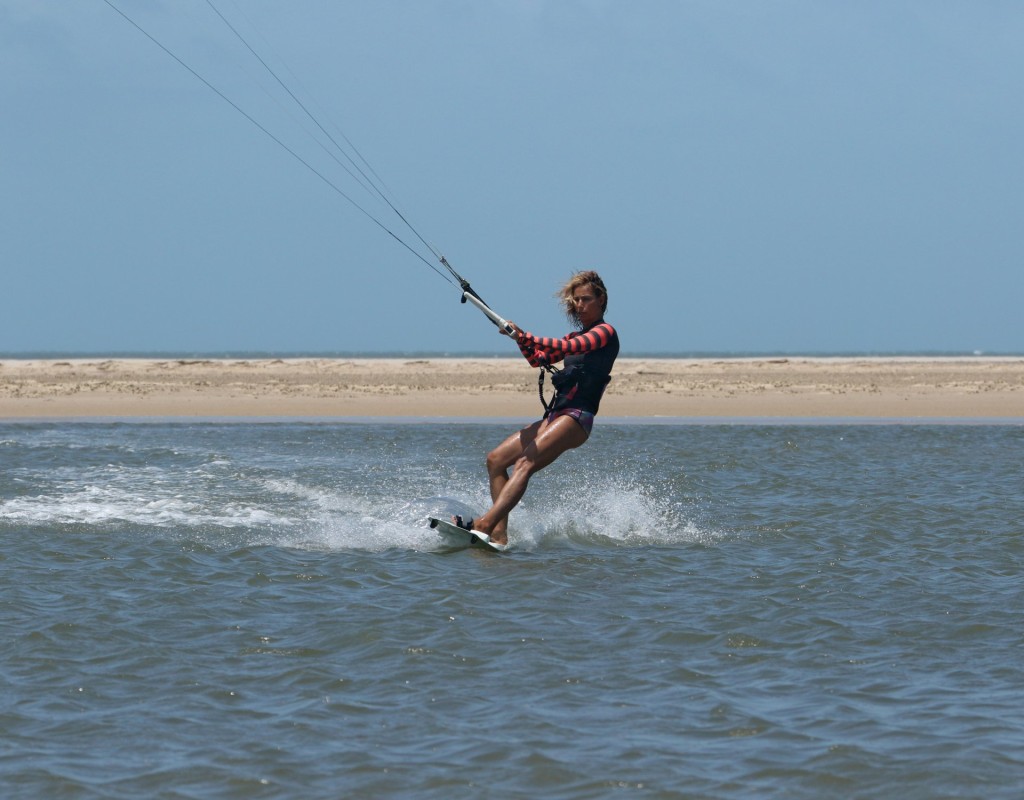
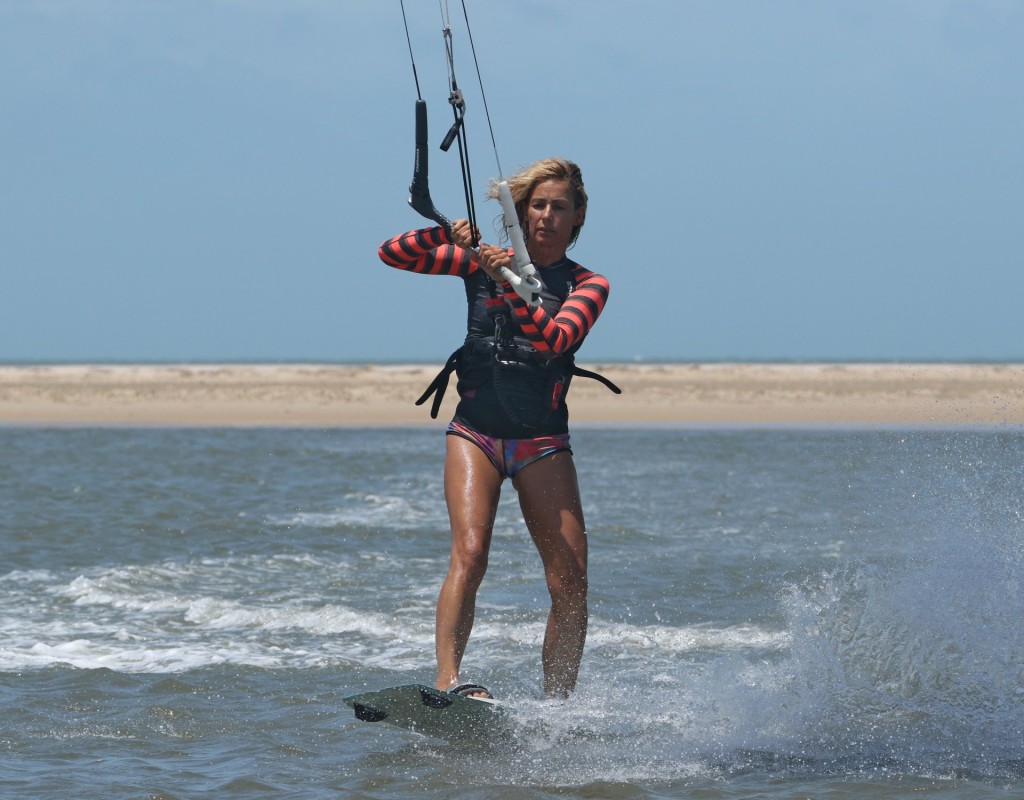
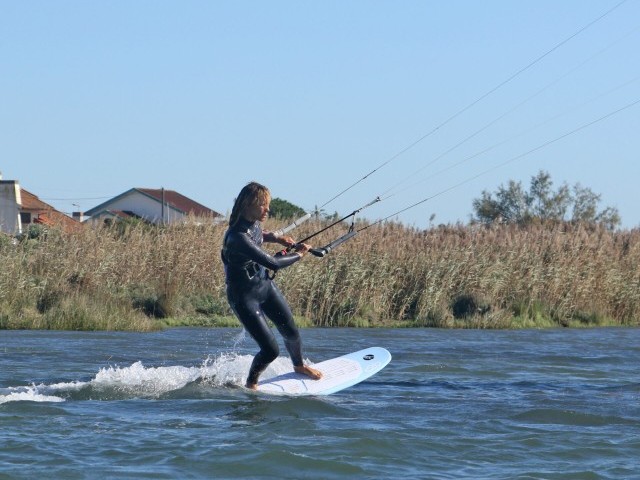
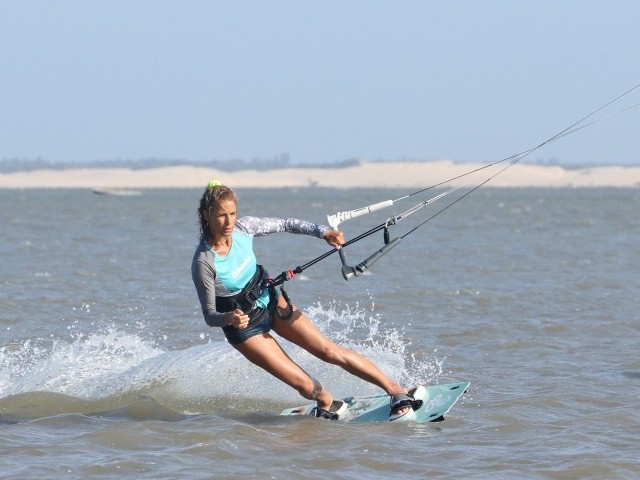
This is all good and well, but your position needs to be spot on to reap the rewards of bearing away. Get your hips back so that you have more weight on your rear foot. This puts you over the carvey rockered tail of your board. Position your kite just above 11 or 1 o’clock. Centre your hands on the bar. Now look at Karine; her weight is back, her hands are centred, the kite is nicely around 11, and her bar is trimmed within reach. She’s come in on and edge and then softened her legs to bear away!
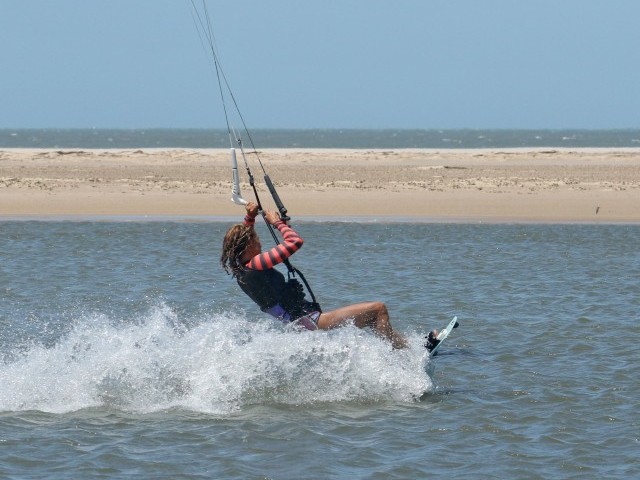
Carve Pic B.
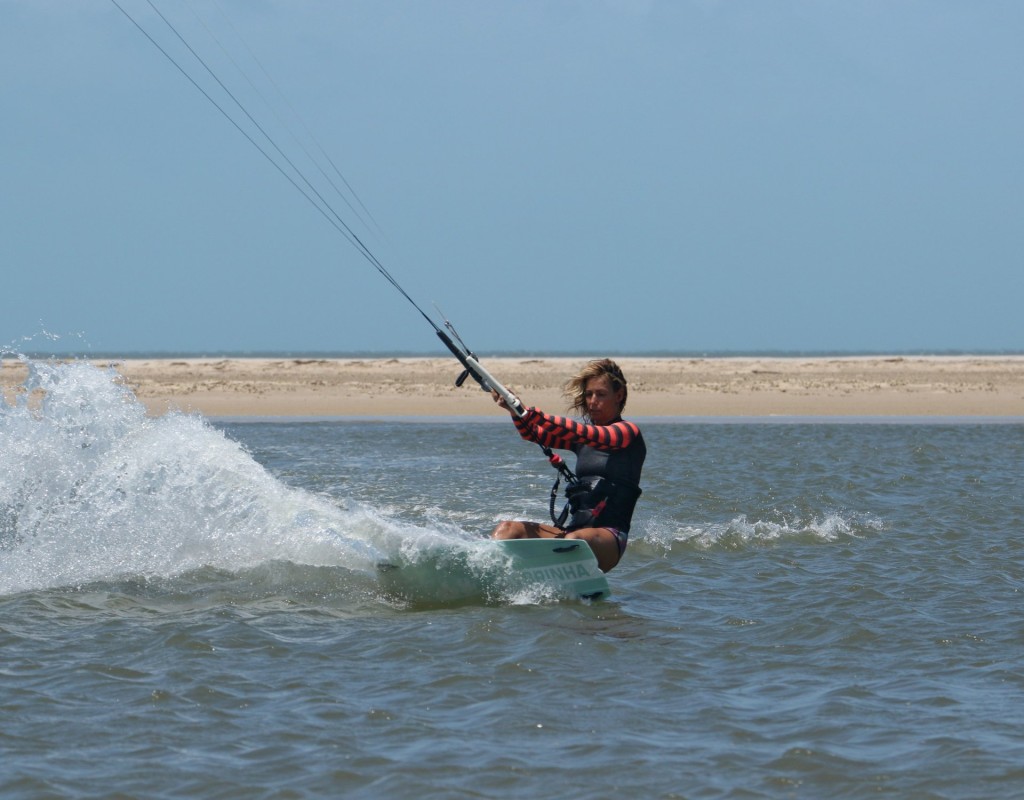
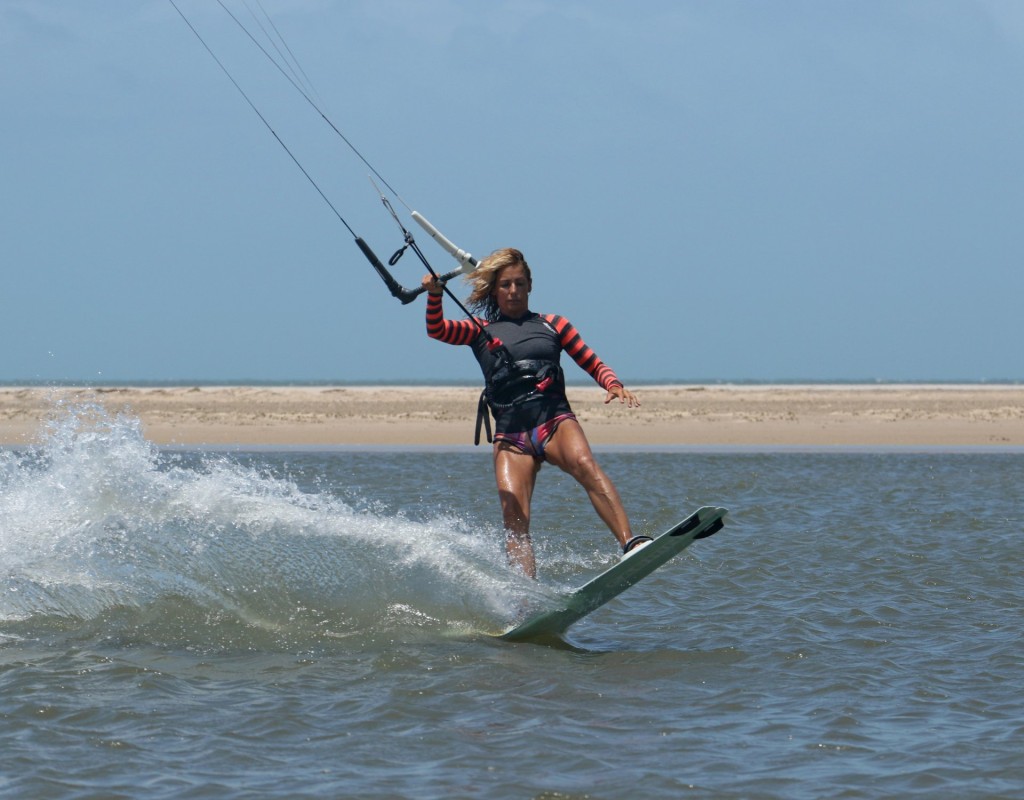
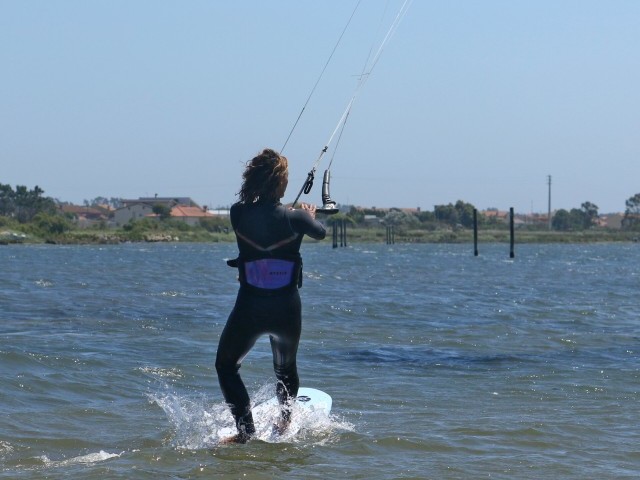
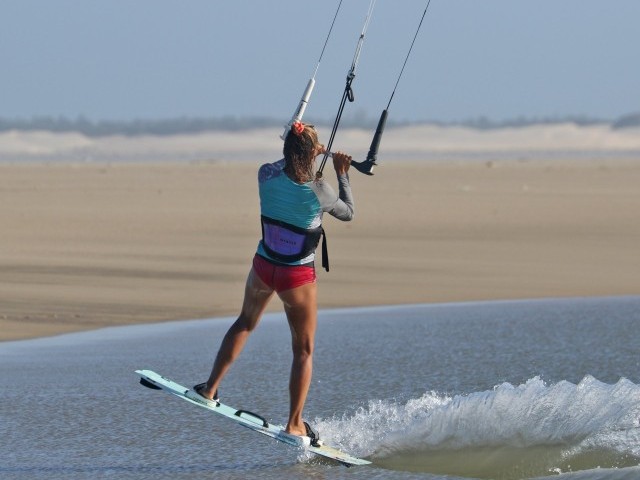
Having borne away, you now need to carve back up onto your edge. Your aim is to do so without pulling on the bar. If you do, the kite will pull you and won’t allow you to get a good pop. Drop your bum, bury your heels and get back onto your edge as quickly as you can with your weight staying slightly back. Doing this, you’ll get tension in your lines from the carve, not by pulling against the bar! In the pic, you can see that Karine has dropped her weight and is back on her edge, carving forcefully upwind. She hasn’t sent her kite, and she’s not pulled the bar in.
Stamp & Release Pic C.
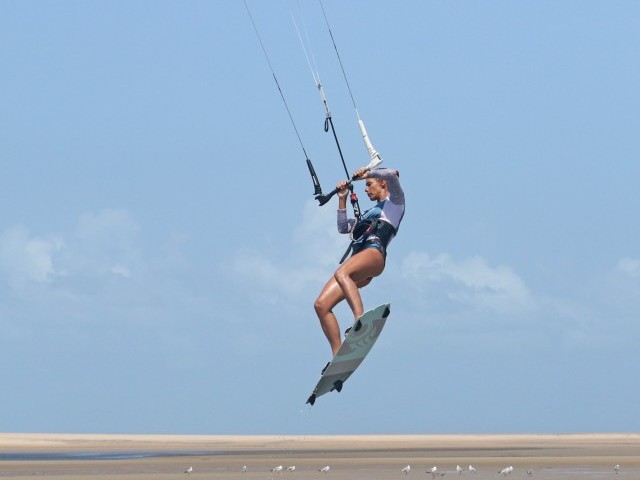
As soon as you’ve got your edge engaged and are carving, it’s time to pop. You’re going for full extension off the water, so give it the beans and stamp away hard off your rear leg, through your heel, extending up as you go. As you do, release your front hand; you will need it soon. Looking at Karine, she’s fully extending her pop, stamping hard. She’s released her front hand, and because her weight is slightly back, the nose of her board is pointing skyward. Also, look at her bar. If anything, she’s actually pushed the bar out a touch to stop the kite pulling her off her edge.
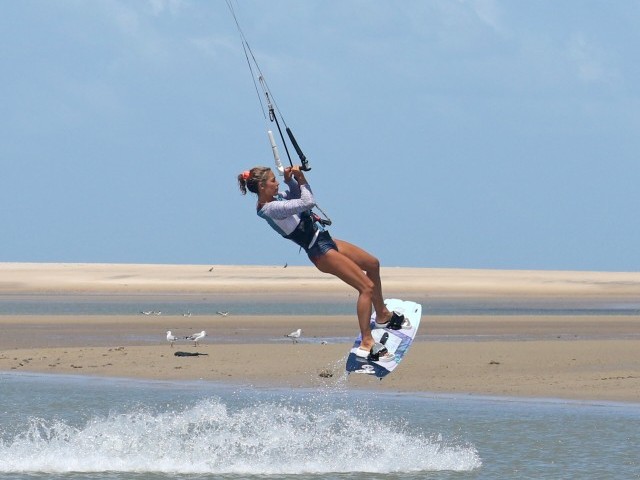
Grab Prep Pic D.
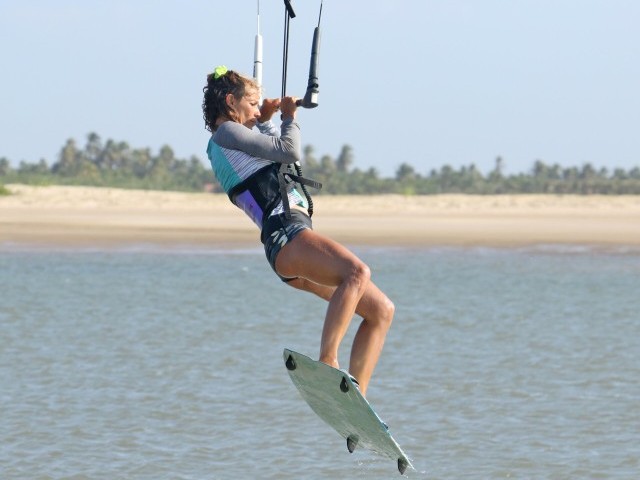
Now that you’re off the water, you can’t hang about. It’s all about getting everything into position so that you can grab. Lift your front knee to bring your board’s nose up towards you. This will also bring the nose into the wind, which will help with the switch to toeside. Look where you want to grab and reach towards it with your front hand. Karine has her eyes on the prize - in her case, it’s the heelside fin. She’s lifted her front knee and is reaching down with her front arm. Her bar is still out.
Grab & Tweak Pic E.
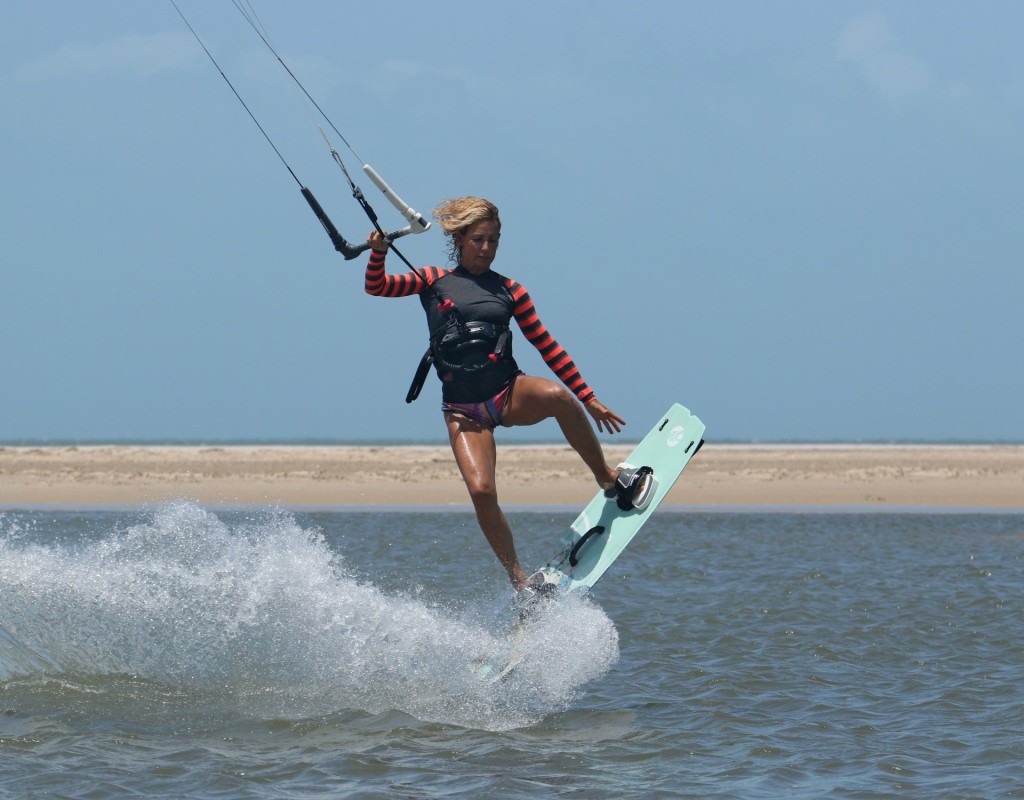
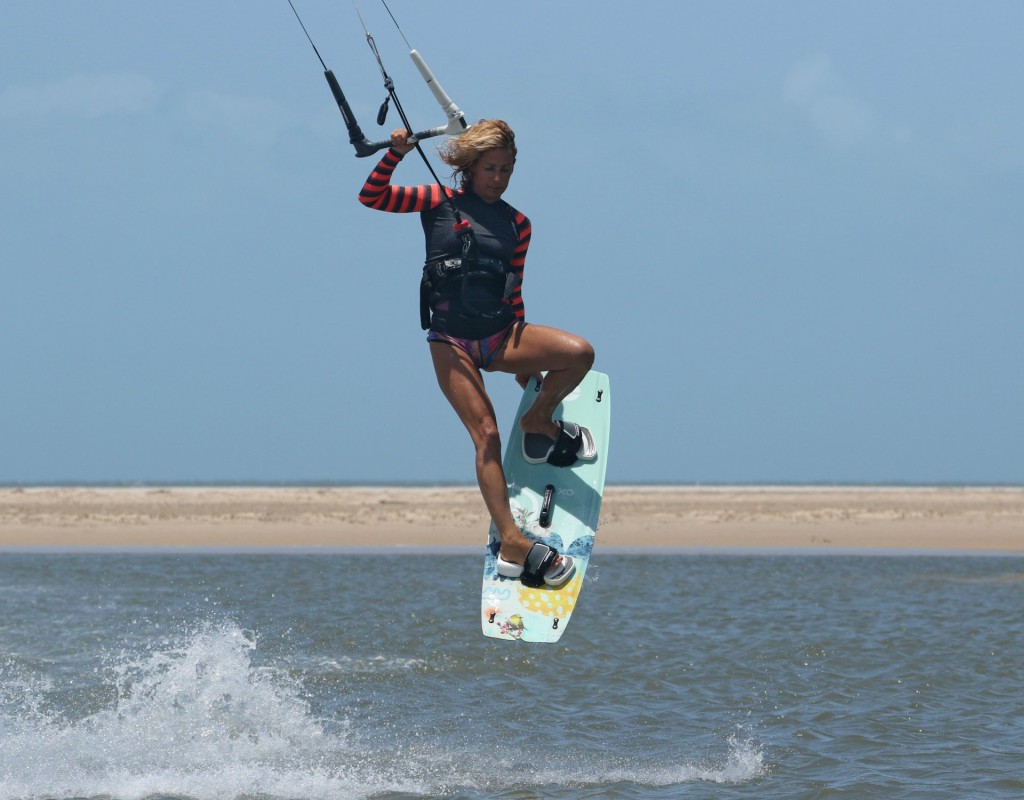
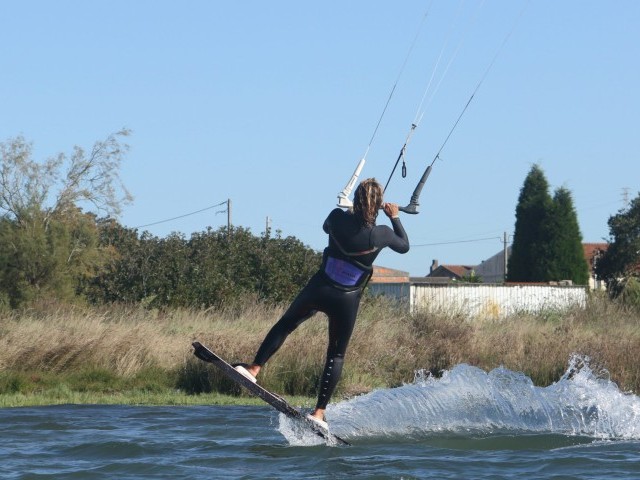
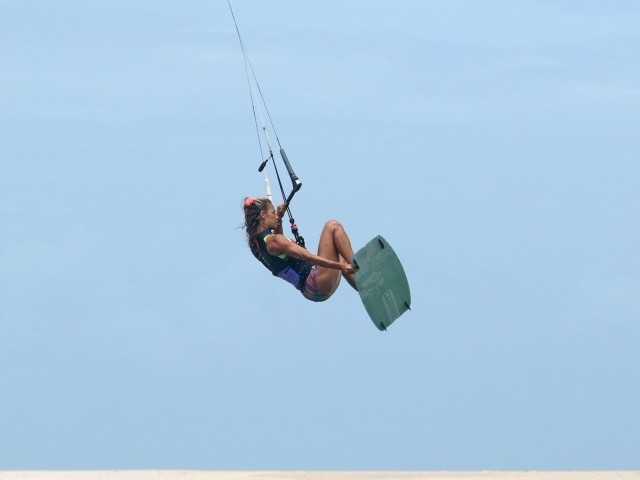
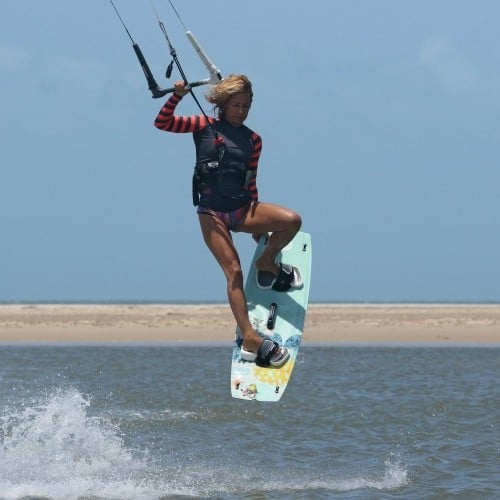
The money shot. Grab the board with your front hand and pull the nose up towards your bum, flexing your knee to get it as close as possible. With a good hold on the nose, you can bring your back leg through, rotating your hips forward to help. Bone your rear leg, pushing your foot away from you, extending your leg down whilst pushing the board around. While doing this, bring your bar back onto the sweet spot for some support. Hold as long as you dare... Here, Karine has pulled the nose of the board under her derriere, pushed her rear foot away and through, turned the board downwind and got her bar on the sweet spot. She’s now looking down to see where and when she’ll land...
Release Pic F.
Depending on your pop and kite position, the time you have for grabbing will vary. A higher kite matched with more pop will give you more time, but even then, it’s not a jump, so it’ll only be a few “frames” long. As soon as you feel that weightlessness abandons you it’s time to prepare for landing. Release your grab so that the board can drop under you. Karine sees that she’ll be landing soon, so let’s go off her board.
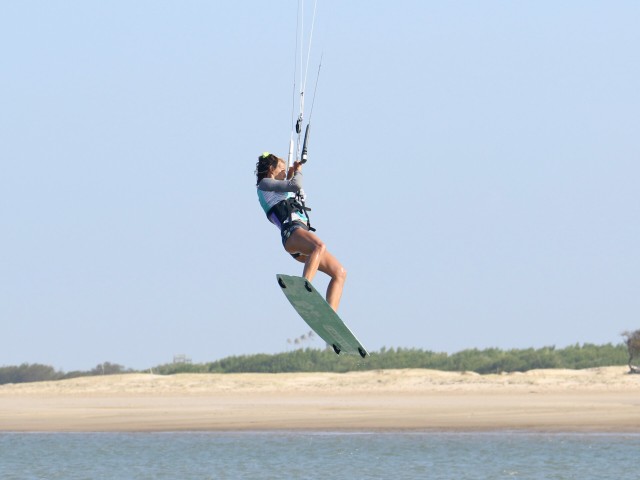
Undercarriage Down Pic G.
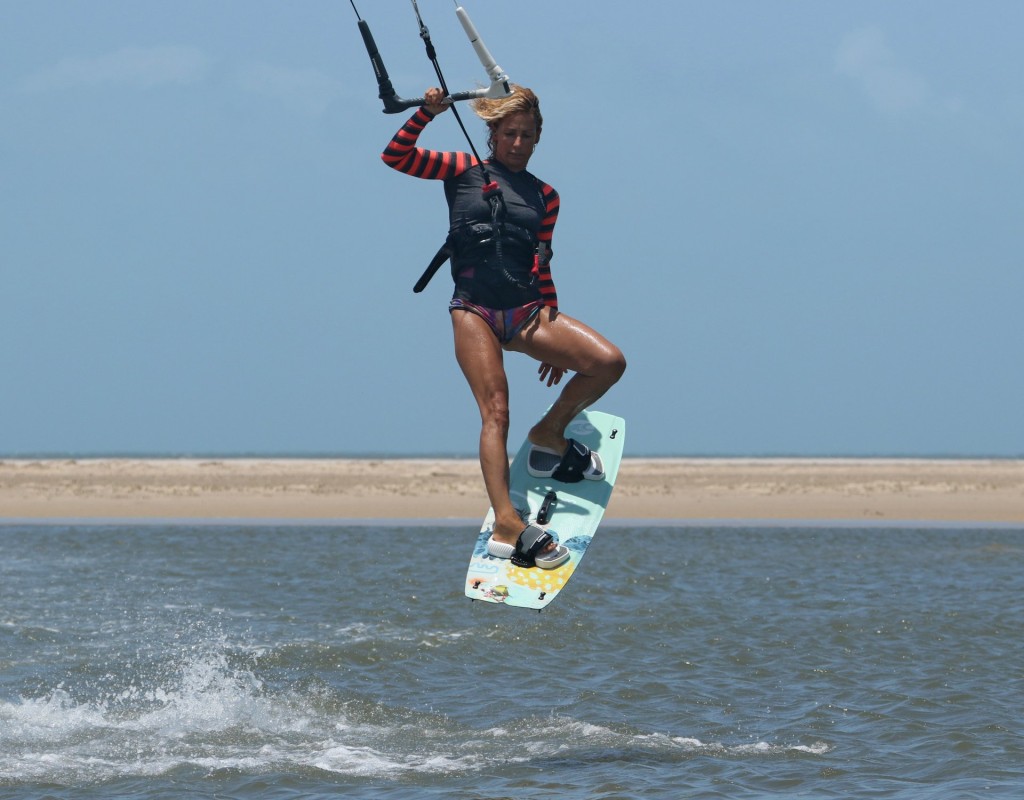
It’s important to land tail first as you don’t want the new nose to dig in, so you need to do this early enough. Once you release, let the board swing under you and reach for the bar with your free hand. Karine is focused on where she’ll land. She’s released her grab and lets the board drop under her so that she’ll have a stable landing platform while reaching for the bar.
Stomp It Pic H.
With your board swing under you and your front hand back on the bar, you can stomp it. Aim to land tail first with the board pointing downwind. The longer you hold the grab, the more likely it is that you’ll land with your weight slightly on your heels. If so, just get balanced and then carve back onto your toeside edge. It’s also likely that your kite sneaked up a touch during your grab. Now, with your front hand back on the bar you can give a little tweak down on the bar to put the kite back where it belongs for some forward pull. Here, Karine lands tail first with her kite around 11:30, weight slightly on her heels (she held the grab for as long as possible), and she’ll now carve back onto her toeside edge. Jobs a good’un!
Top Tips
Build up to this by first trying bigger pops to toeside without adding the grab. Once you get comfy with you take off and landing, you can add the grab and then the tweak.
Same as with most pop tricks, you can start with the kite a bit higher to help give you more time. This will impact your landings, as you won’t have as much forward momentum, but it’ll certainly help with the learning.
Do get used to the idea and feeling of landing off the wind, in preference to turning all the way to your toeside edge. With big pop, landing on your edge will be tricky, whilst landing off the wind will be way more stable.
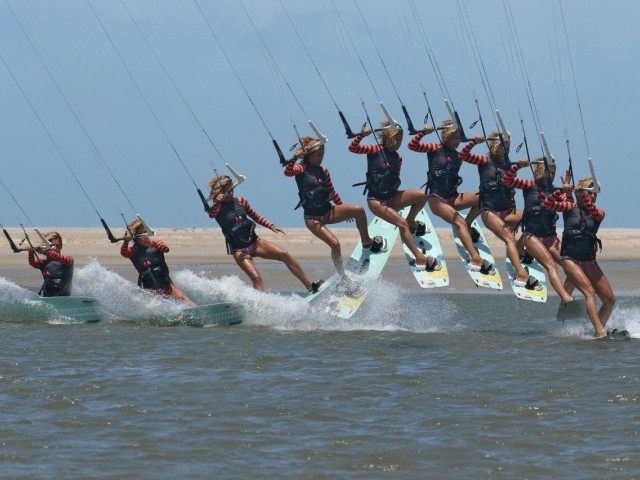
Excellent. Check out the sequence for a step-by-step walkthrough and the video for a real-time look at what’s going on.
Common Problems
The most likely problem you’ll experience is the kite drifting up too much whilst attempting this. At best, it’ll kill all your speed for a smooth landing. At worst,t it’ll bull you back off balance. Make a real effort to take off using your pop. It’s too tempting to drift the kite and wait for some lift, but you’ll never get the kite forward again if you do this.
Suppose you’re finding it challenging to grab the board. This often results from trying to lift both legs to get the board near you. Leave your back leg extended from take-off and only bring your front knee up.
If you’re landing too much on your heels and falling back, it’s because you’ve drifted the kite. Start with it a tad lower and leave the bar out during the grab.
This technique article was in Issue 108 of IKSURFMAG.
Related
By Christian and Karine
Christian and Karine have been working together as a coaching team, running improver to advanced kitesurfing clinics since 2003.


