Learning to Loop Part 7 – Your First Kite Loop
Technique / Intermediate
Ladies and Gentlemen, it’s time! You’ve worked through all the prep, nailed all the prerequisites and honed your looping skills. Today, it’s all about the kite loop, or instead, your first kite loop. As long as you get your head around a few points, spoiler alert, it involves building blocks, we think you’re onto a winner. If you’re keen, you’ve probably already watched hundreds of kite loops, whether live, in videos, in your head and most likely in your dreams. You know what’s involved, but let’s just make sure that we’re on the same page:
A kite loop means that you’ll pull the loop with your rear hand, resulting in the kite pulling against the direction of travel, which is why the pull can be pretty intense if there’s a lot of power!
Pointers
- It’s going to be small! You want it to be low-level. Forget those images of mega loop madness; it’s building blocks, starting small and working up from there.
- Not too powered, just enough to comfortably jump. The problems and surprises come with power, so avoid it like the plague for the moment. Yet again, building blocks. You don’t want to be hanging onto your 9m in 30 knots, thinking now’s the time! It is much better to ponder what to do as there isn’t enough to get particularly airborne and settle on kite looping.
- Timing. You’ll start late on the way down, preferably just before you touch down. Yup, that’s right. You can then build up top, going less late and then earlier and earlier.
- Position the kite when you pull the trigger. Your kite wants to be at and starts its loop from 12 o’clock. This means you’ll have tension on your lines, so your kite will respond. This means you can loop the kite higher, tighter, and quicker to get less pull. It means the kite won’t drop you, even if it doesn’t get all the way around to catch you. And it means the pull will come from more downwind than massively behind you.
- Where you look. Assuming you follow point 4, your kite will pull from just behind downwind. This is the direction you’ll end up going in. You'll be balanced and positioned for the landing if you look towards the pull and the kite. This essentially means that you’ll land downwind but just a smidgen in the opposite direction of travel.
- Which foot lands first? This actually isn’t a be-all and end-all, but getting your head fully into kite looping whilst learning helps if you land leading with the same foot that led into the jump. This means you can carve back onto your heels and carry on in the same direction post-landing. It gives you the option of carving back from whence you came onto your toes, but we’ll leave this option out to fully nail the jump aspect into our psyche.
Same Deal
However you look at the kite loop, if you’ve been following this series, you’ve practically already done one. Pulling a decent down loop transition one way is similar to pulling a kite loop the other. There are many ways to visualise what’s about to happen, but nothing beats a gentle, controlled one to get your personalised POV, which will give you all the reference you need to continue. Starting low and soft, getting confidence and control, and following all the same rules, just like we did with the down loop, before eventually pulling the trigger earlier. The good news is that you won't get much pull if you’re not very powered and you loop late.
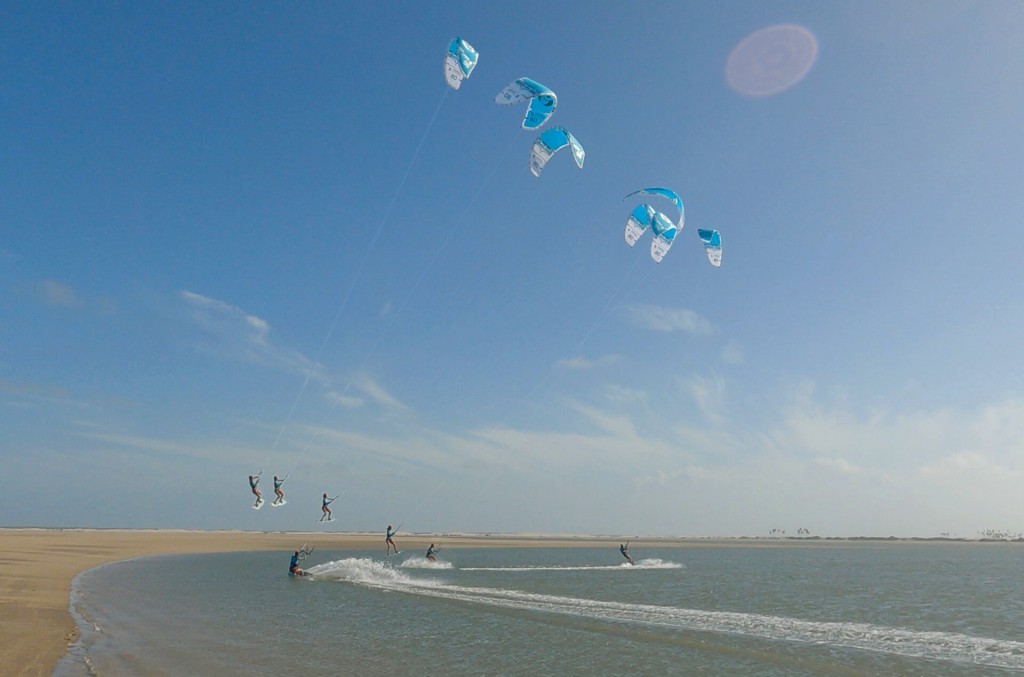
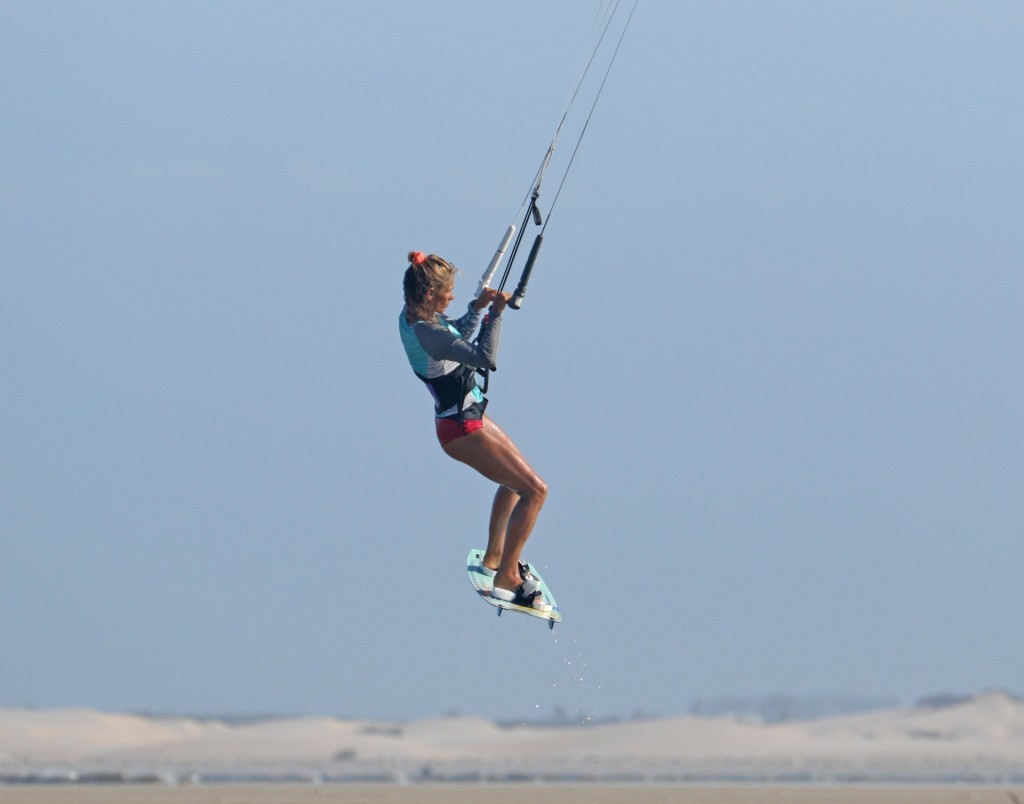
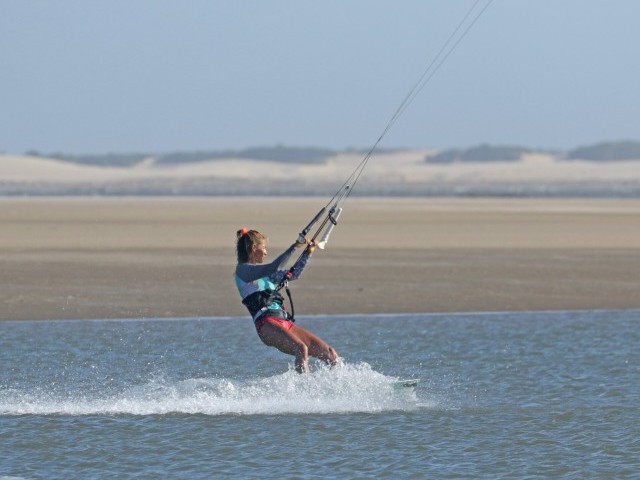
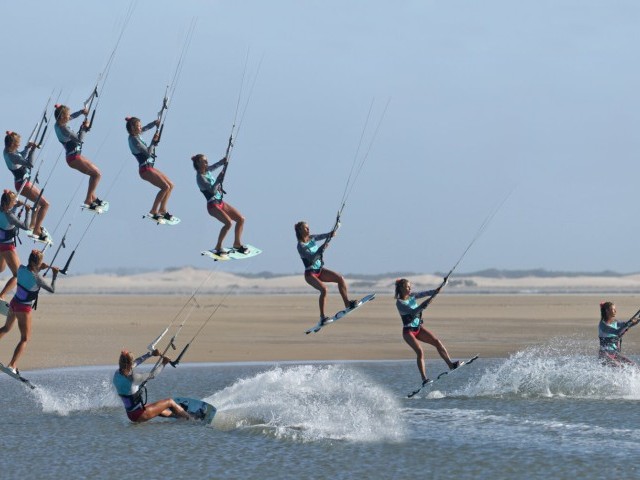
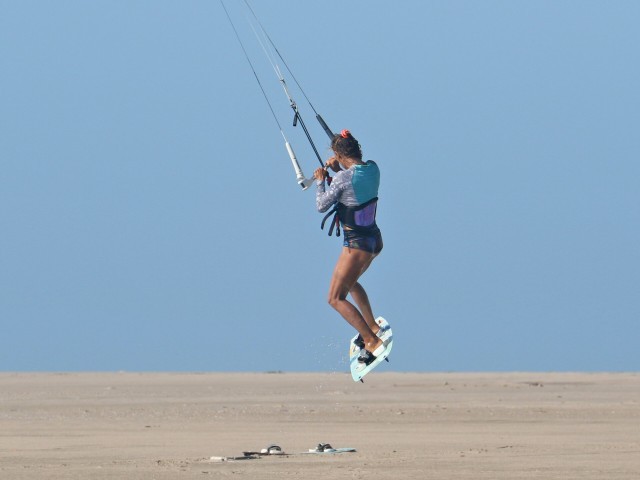
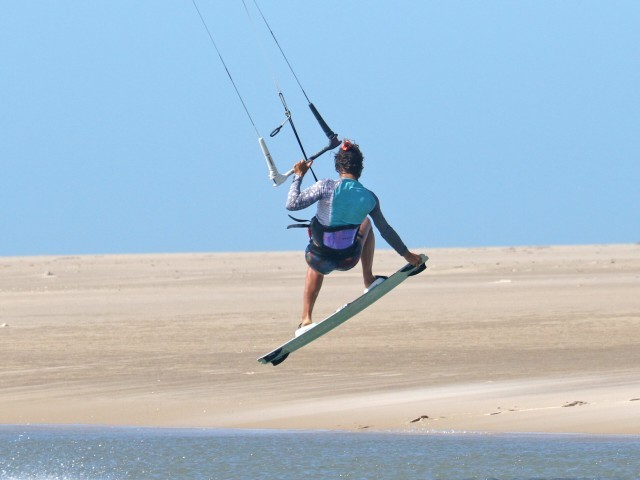
To see what we’re after, have a look at Sequence 1. You can see that Karine’s kite loops a complete 360, but it doesn’t have time to go back up to the zenith before she lands. This is because it’s relatively late, and Karine is not very powered – perfect.
OK, enough of the chat; let’s look at some of the crucial moments of the kite loop so you can see what’s involved and when…
Approach and Send Pic A.
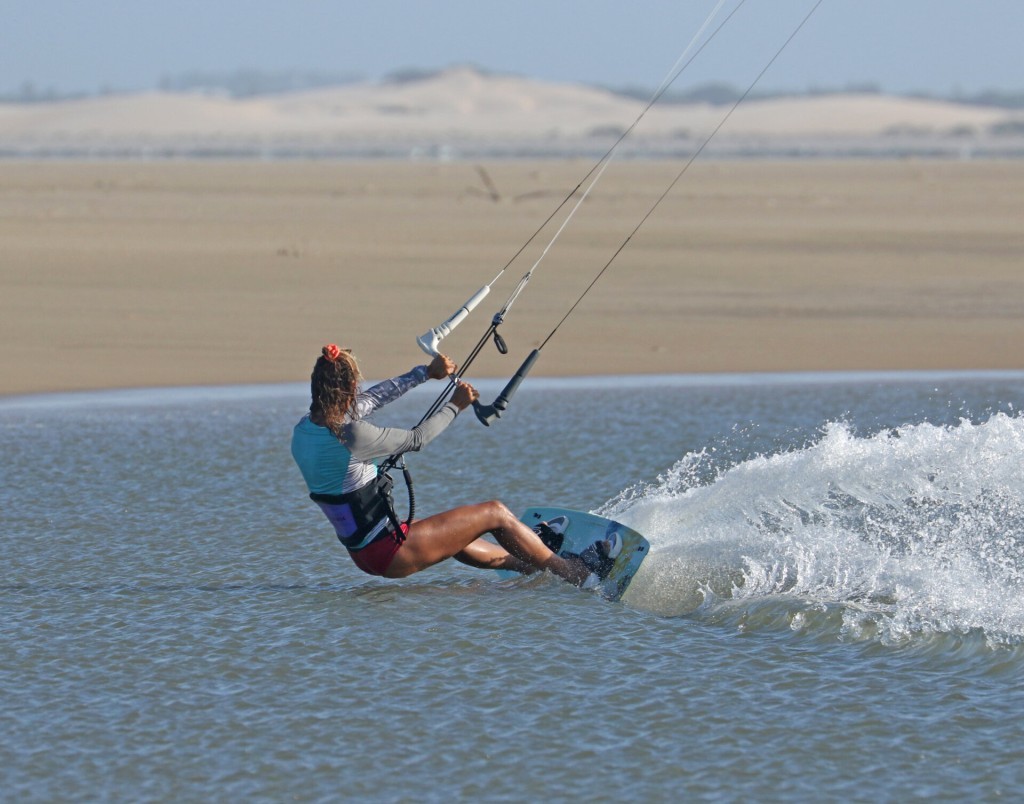
You need to approach this as a jump, with a good edge and enough speed not to slow down when you send the kite. You want an up jump; you don’t want to be swinging under your kite. It’s all about having and keeping tension in your lines. This way, your kite will respond when you ask it to. You’re not looking to go big, but it’s better to get a bit of a jump and wait longer than try and do a mini hop and have to rush. Her Karine is edging upwind, good, controlled speed, bum low, legs resisting. Her hands are thumb-width out from the bar's centre, giving her some leverage for the loop. She’s sent the kite from 11 o’clock and lets the bar follow the sweet spot so that she can hold her edge.
Take Off Pic B.
This bit may take a bit of practice. You'll need to tame it down if you’re used to sending your kite hard for bigger airs and letting it go quite far back in the window. It’s all to do with starting your loop at 12 o’clock. If the kite goes too far back, you’ll have a lot of work to get it forward to 12. The key here is to level your bar before kicking off so your kite stops moving back just after it hits 12. This means you can’t drift it up slowly on the send because you won’t get the lift for your jump if you do. As Karine kicks off her bar, she is already levelled, so her kite stops. Also, it is worth noting that the kick against her edge comes before she pulls in on the bar to ensure that she gets that up, takes off and doesn’t swing downwind. This way, the kite will remain above her, so she’ll have tension in the lines when needed.
Patience Pic C.
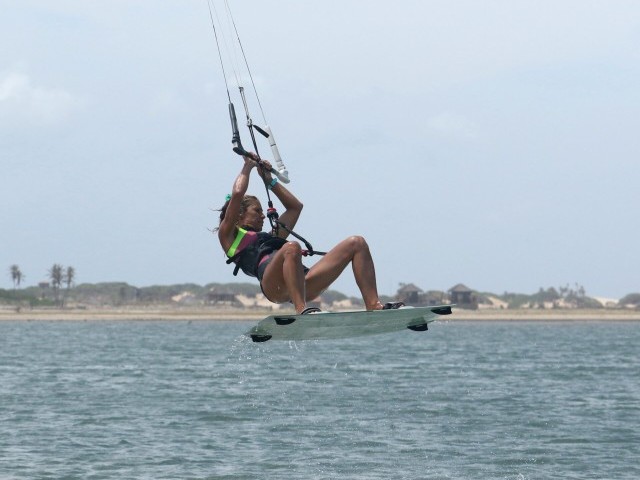
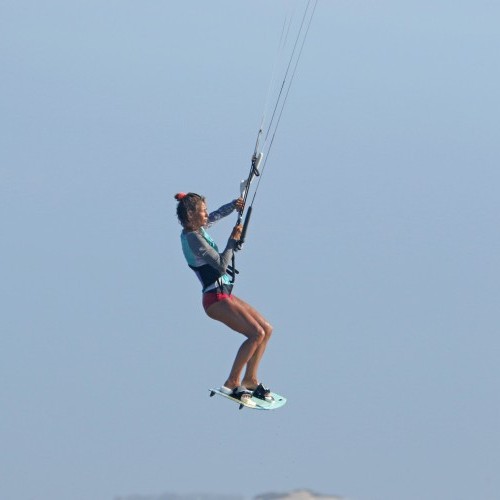
If you’ve been psyching yourself up on death metal and hefty shots of expresso on the way to the beach, it’s worth remembering that you’re not going all out, guns blazing, gung ho. Instead, you’ll be patient and late. As you rise into your jump, keep the bar level, make sure you’re balanced and look where you usually look, slightly forward in the direction you’re travelling. Bring your knees up for balance, and if your kite is behind 12, you can give it a little tweak forward so it’s sitting bang at midday. Karine is lifting; her kite is right above her, she’s got her bar in on the sweet spot, tension on the lines, she’s looking forwards, bringing her knees up and most importantly, waiting. You want to pass the apex of your jump and know that you’re descending.
The Full Monty Pic D.
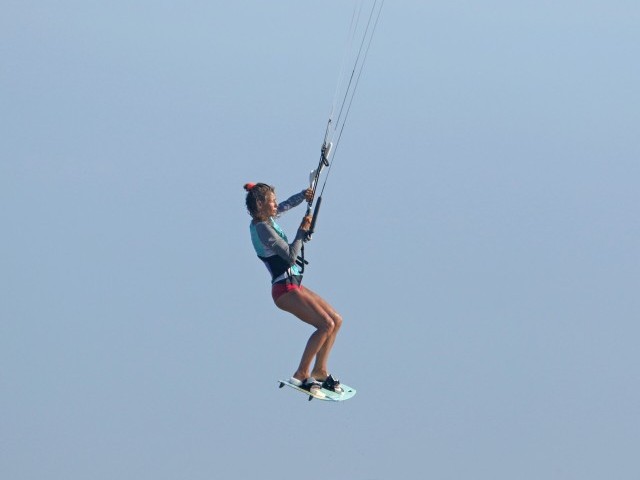
Two words: look and commit. Regardless of how late you go, you want to etch this into your mind. Timing-wise, you can go super late for your first attempts just as you’re about to touch the water. You’ll give it the full Monty on the bar and lock in, as you’ve already done multiple times. As you do this, you will look back, just behind downwind, so that you’re ready for the pull and can follow it. You can see that Karine has given it everything on the bar, the full push-pull. She’s looking slightly back, anticipating the pull and bracing her body for it. As a reminder, if she keeps the bar where it is until the kite goes round, the pull will be sudden but short. And by going late and with little power, it shouldn’t be aggressive either:)
Follow The Leader Pic E.
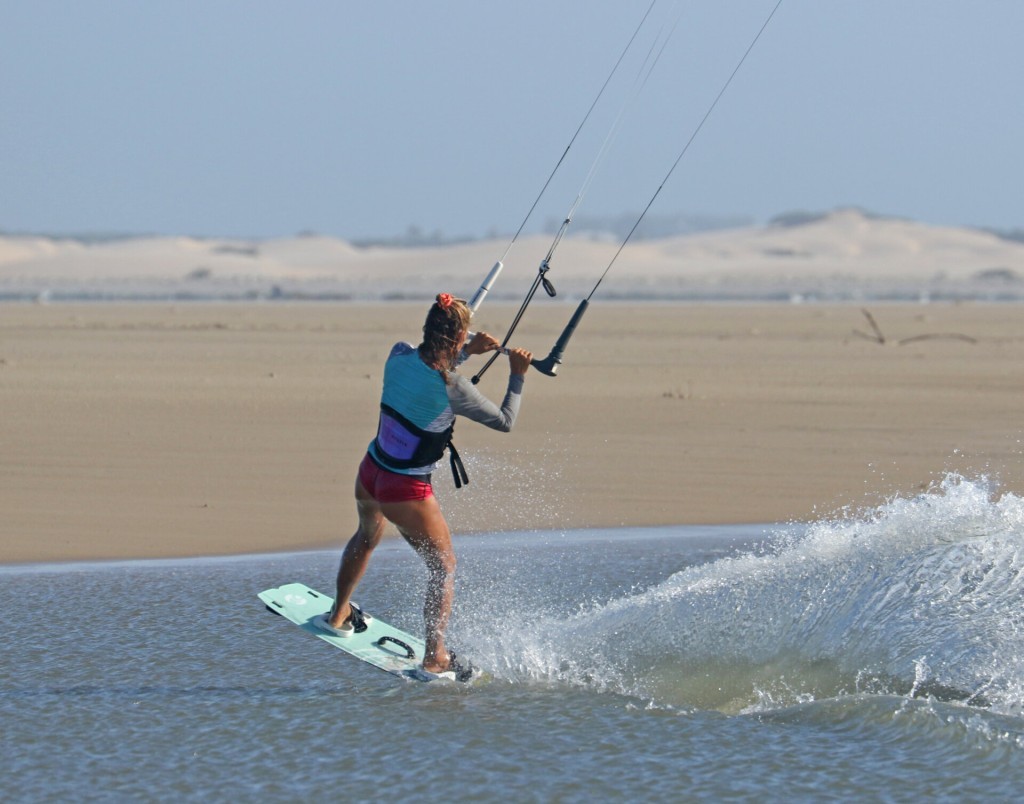
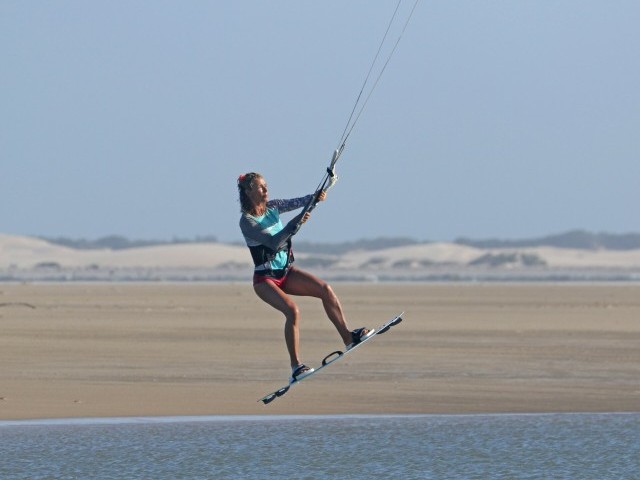
Now, things should start to feel familiar, with the kite pulling and yourself following the pull. The great thing is that with the kite acting as your guide, you can watch it, follow it, and be confident that you’re travelling in the right direction. You need to prepare for landing, twist your hips and point the board towards the kite, aiming to land, pointing just back from downwind. Keep the bar locked into push-pull mode so that the kite continues to loop, and don’t allow the power to pull the bar up and away from the sweet spot as the kite loops. Karine’s eyes are on her kite; the bar is locked into the full Monty, and she’s turning her hips and board to follow the kite in preparation for landing.
Touch Down Pic F.
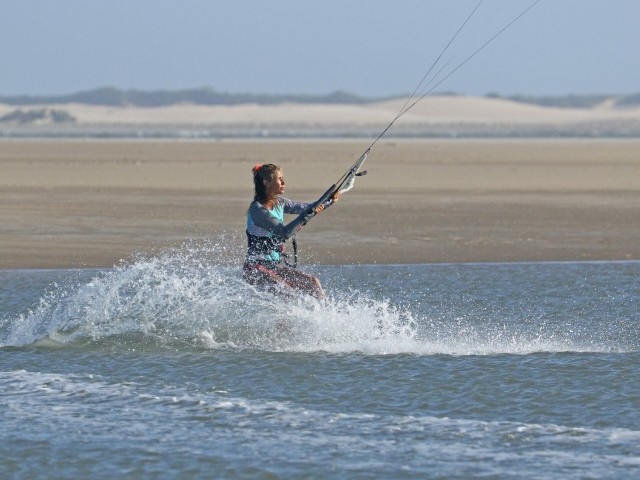
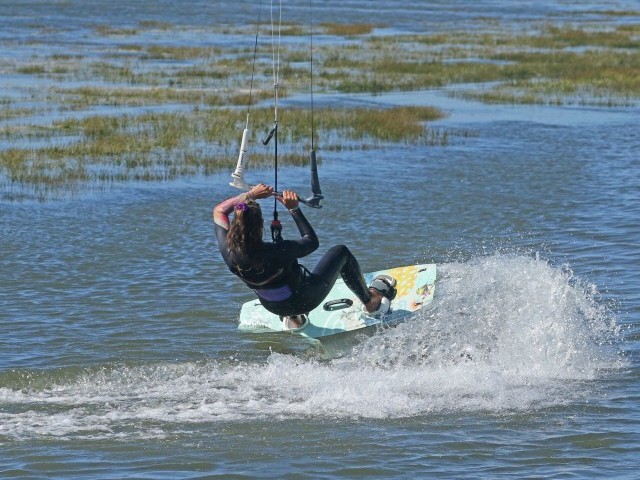
Aim to land tail first and over the board; you want to keep your nose up. Being over the board will allow you to “take” the landing. Due to the fact you’re going late, keep the kite turning as you want it to go fully around; it’s good practice for the future. With your board heading off downwind, you have time to regain balance, push your heart back down your throat, and wonder about your own personal amazement – you just kite-looped! You can see that Karine is still steering her bar; she’s compressed to absorb her landing and is still watching her kite to see where it is in the loop.
Tension Pic G.
You’re not finished yet! Whilst you head downwind towards the kite and the kite travels up towards the zenith, you run the risk of outrunning your kite and losing line tension. You need to carve back onto your heel side edge to prevent this. As tension is restored, you now run the risk of stalling your kite, so ease the bar out, steer your kite forward, and sail away with a well-deserved cheer and a mighty grin.
Top Tips
- It’s worth remembering your goal: to ride away from your first kite loop. It doesn’t have to be pretty; it shouldn’t pull like a train, and you’re not expecting to complete the full loop while in the air.
- Just like with the down loop transition, start as late as you can. As you get more confident, you can gradually go a bit earlier and earlier still, eventually working up towards the apes of your jump.
- Don’t worry if you haven’t got a modern kite capable of double loops. If you’re on a 9m or less, all kites will turn and loop if you ask them to. It’s a matter of tension, timing and input, and you’ve already done the hard work.
- Take a look at Sequence 2 and the video on the IKSURMAG channel to see how this all fits together. Let’s have it!
Common Problems
- The most common issue is coming down hard, dropping, and feeling that the kite is slow to loop. This is a result of having no tension, which is most likely the result of your kite starting from behind 12 o’clock. Make sure to level the bar at take-off and have the kite right up before giving it the beans.
- If you get twisted off balance when the kite pulls, you’re still looking forward when you pull. Make sure you turn your head and look back, following the kite.
- Suppose you land very fast and find it hard to take the landing, resulting in you losing your balance and falling. This is often the result of having the bar in too much. You’re strangling and stalling your kite, so rather than climbing up towards 12, it stays low and in front of you. Ease the bar out so that the kite can breathe as it rises.
Keystones
- Come in for a jump and send the kite from 11 or 1
- Level bar early on take-off
- Wait
- Look back slightly and give it the beans
- Land following kite, edge back up, and let it breath
This technique article was in Issue 107 of IKSURFMAG.
Related
By Christian and Karine
Christian and Karine have been working together as a coaching team, running improver to advanced kitesurfing clinics since 2003.


