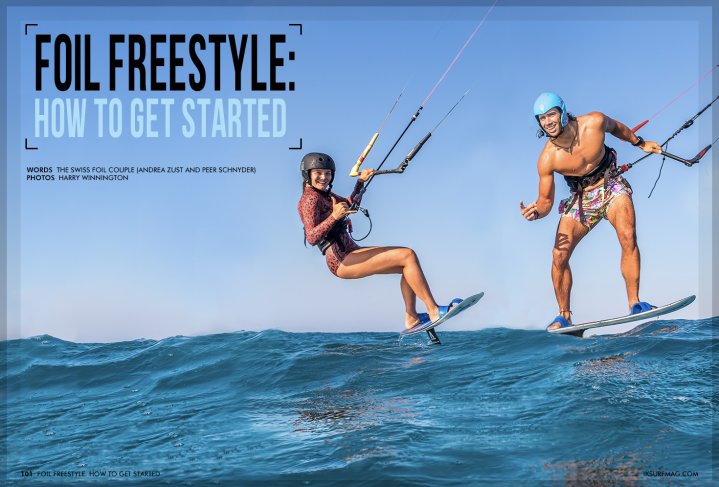
Foil Freestyle: How To Get Started
Issue 101 / Thu 12th Oct, 2023
Thinking about trading in your twintip for a hydrofoil? There are a lot of tricks that you can carry over, and if you're wondering where to start, you won't want to miss this helpful guide to getting started with hydrofoil freestyle from the Swiss Foil Couple!
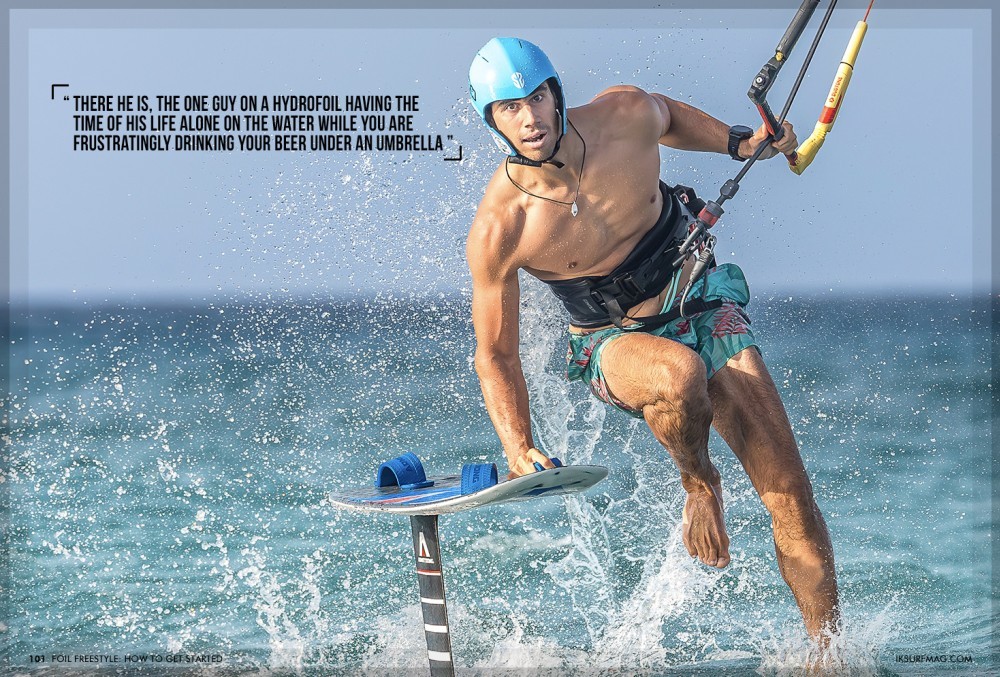
Every kiter has experienced it before: Struggling to fit all of the gear into one board bag that weighs exactly 23 kg, travelling for many hours, and finally standing at the perfect kite spot… with no wind - at least not enough for your biggest kite and twintip! And, there he is, the one guy on a hydrofoil having the time of his life alone on the water while you are frustratingly drinking your beer under an umbrella.
Now, imagine the possibility of suddenly being able to train your back rolls, one footers, and board offs in under 15 knots. Many of you are intrigued to try this relatively new discipline in kitesurfing but don't quite know how to get started or are a little afraid of hurting yourself after having heard horrible stories of foils cutting through legs and hitting heads. So, to make things easier for you, we will help you understand how to get started with hydrofoil freestyle.
First Steps into Kitefoil Freestyle – Tips & Tricks
To start with hydrofoil freestyle, you should be able to ride safely on the foil. Once you can do some jibes and feel more confident, it is time to unlock the next level of "hydrofoil freestyle". Before you start doing different manoeuvres, be sure to read and follow our quick safety guide:
- Wear protective gear: a wetsuit that covers both arms and legs, helmet and impact vest will help you avoid bruises and cuts.
- Never try learning new tricks in challenging conditions such as strong, gusty winds, chop or bigger waves.
- The moment you notice your trick will go wrong and you know you won't land it, pull hard on the bar so that the kite pulls you away from your board in order to avoid crashing into it. Train this first so that it becomes instinctive to you.
- Look around! You are not alone on the water.
- Use smaller wings. We recommend a maximum 850cm2 Armstrong front wing) as they are easier to pop, and there's less impact area on the landings. This way, you avoid breaking your gear and injuring your knees and ankles when coming down harder.
- Keep in mind that the warranty from most foil manufacturers/brands is not valid when you start jumping with the gear.
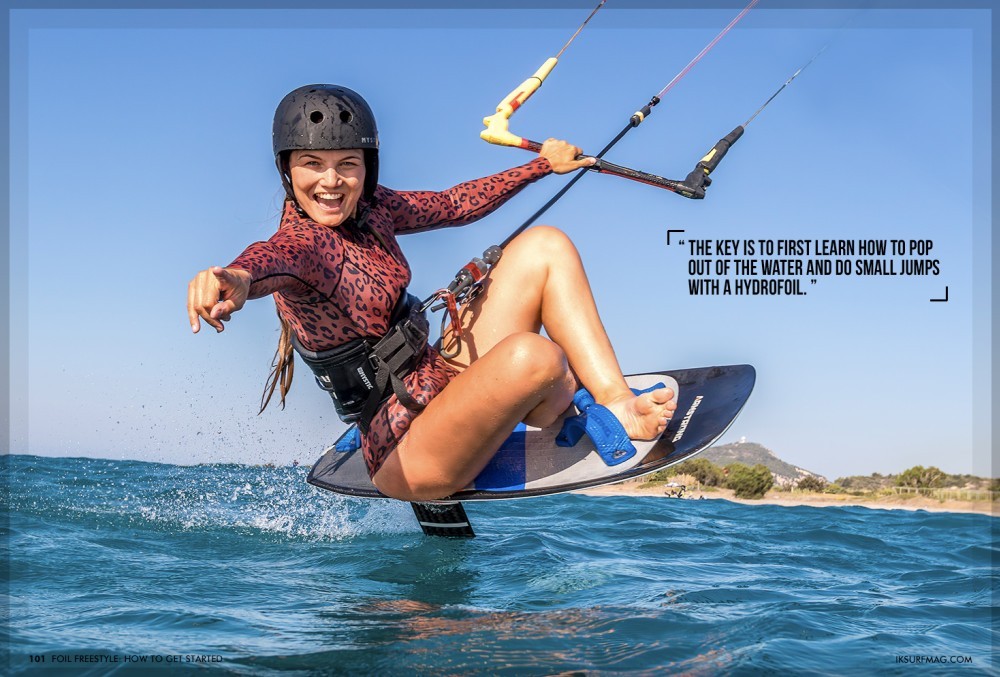
Initially, the key is to first learn how to pop out of the water and do small jumps with a hydrofoil. For this, it is essential to have enough speed. Steer your kite up as you would for a jump with a twintip. Before your kite reaches 12 o'clock, put all your weight on your back foot and give a small "kick/pop" to the tail of your board while reducing pressure on your front foot by pulling your knee upwards.
While doing this, pull hard on the bar to gain the maximum power from your kite. Leave the bar shifted in until you reach the highest point. Whilst in the air, bend your knees so that you are as tiny and compact as possible to keep your balance and avoid the extra weight of the foil starting to rotate you. As soon as you start to come down, shift out the bar and prepare for landing.
When landing, make sure to put pressure on the back foot especially and point the nose of your board downwind to get onto the foil again and start gliding. Don't forget to counter pressure with your front foot; otherwise, you'll do a dolphin jump! If you're scared of crashing, lean backwards a bit; this way, if you fall, you won't fall over the board and get hit.
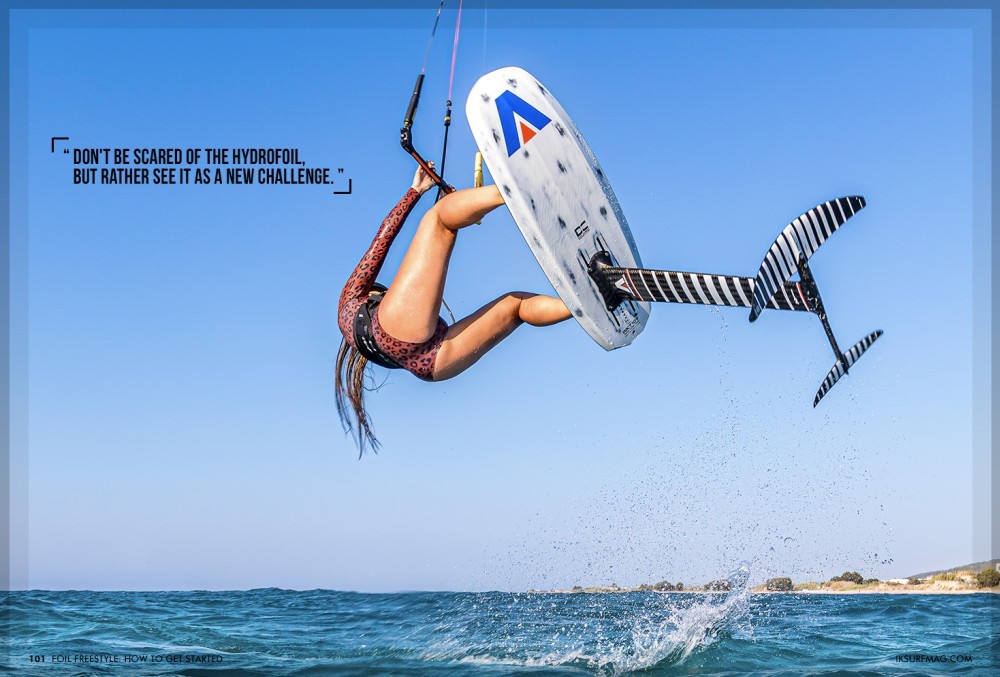
Once you've mastered the take-off and landing techniques, you can try the tricks you know how to do on your twintip. Back rolls are great first tricks to try on the hydrofoil, for example. Unfortunately, there are not many "how to" videos for kitefoil freestyle on YouTube yet. So, if you are looking to learn more advanced tricks, just have a look at the twintip videos - the main principle is the same. Or, you can message us on social media! Like everything else, hydrofoil freestyle just takes time to learn. The more you practise, the more technique you'll gain and the less you'll have to do with your own muscle strength. Don't be scared of the hydrofoil, but rather see it as a new challenge. Just stick to the above-mentioned rules, and you'll be fine!
Level 1 – Back Roll / Front Roll
Let's start with one of the basics! Before you attempt this trick, make sure that you go through the complete trick in your head before you get onto the water. Practising the rotations, in theory, is the key to not hurting yourself and not getting frustrated on the water. Gain some average speed (20km/h) for your first attempts. Steer your kite up to 12 o'clock slowly and pop your board out of the water.
After popping, turn your head in the rotation direction and try to get into a compact position for your first tries. It is imperative to hold your hands in the middle of the bar to not lose control of your kite. The kite should stay between 11 and 1 o'clock during the whole manoeuvre. When you've completed the 360-degree turn, it is time to spot your landing. Make sure that you set your board downwind and try to dive in first with your foil front wing.
The most difficult thing about a back roll or front roll is to keep your orientation up in the air so you end up with a 360-degree spin rather than only going 180 degrees and falling onto your back. It is part of the game to have some crashes while you work your way towards a proper landing. Don't be discouraged!
Level 2 – The One Footer
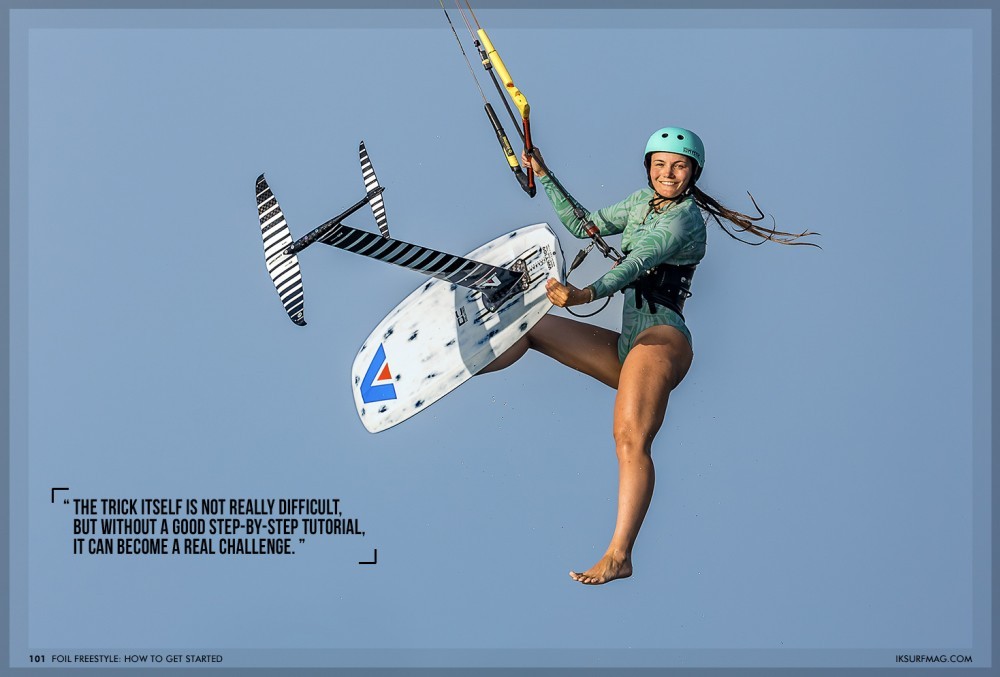
This trick looks really stylish, and you can impress your friends massively with this trick. Before you start, again, make sure you go through the complete trick process in your head before practising it on the water. The trick itself is not really difficult, but without a good step-by-step tutorial, it can become a real challenge.
Try to gain as much speed as possible, and keep your upcoming steps in mind before you pop off. When you are ready to fly, push your back foot hard into your board and give it a pop. Try to go for maximum airtime to have enough time for your airstyle trick. When you reach the highest point of your jump, it is time to take your foot out of the back footstrap while holding your board with your back hand, either on the strap or the tail of your board. Try stretching your leg as much as possible to get a really cool looking shot!
When doing this trick, it is important to spot your landing during the whole jump to avoid losing balance. Your stretched out leg does also help you to avoid going into a twist. Right before the landing, put your foot back into the strap and let go of the board with your back hand. Put your board on a downwind course, keep your balance, and dive in the foil to not lose your speed so that you can land and continue your riding.
Level 3 – Board Off by Board Rail
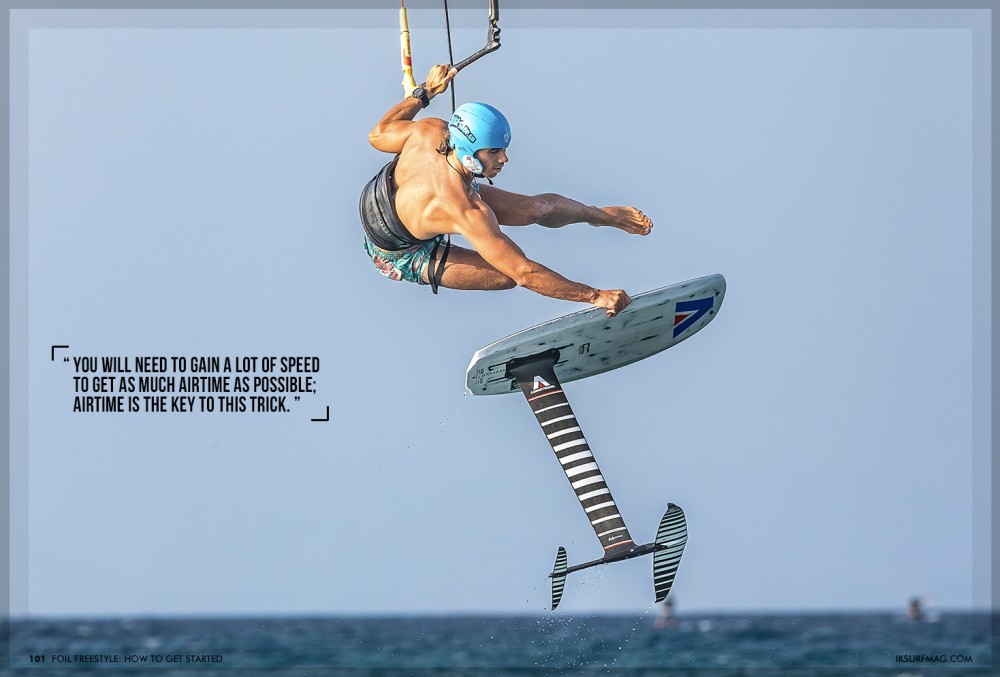
During the first steps, a board off by board rail is similar to a one footer. Again, you will need to gain a lot of speed to get as much airtime as possible; airtime is the key to this trick. The longer you stay up in the air, the more time you have for this trick, and the easier it will be to land it properly. You must be able to do a one footer without any struggles and practise the "board catching on the rail" on land. Gain as much speed as possible and give a hard pop with your back foot after edging to reach your maximum height.
Before you reach your highest point during your jump, it is time to get into a "package" position. Make yourself as tiny as possible, grab your front board rail with your front hand, and hold your bar with your back hand in the centre, leaving your kite at 12 o'clock. When you are holding your board rail with your hand, take both feet out of the footstraps and stretch your legs into a vertical position. At the beginning, you may find it easier to just take your feet out quickly and not stretch out completely. When putting your feet back into the straps, it helps to first put in your front foot, followed by your back foot. It is normal to miss the straps when trying to put your feet back in while you are learning; a few hard landings are part of the program!
If you want to share your progress or get more foil freestyle tips, connect with the Swiss Foil Couple (@swiss_foilcouple) on Instagram!
Videos
By IKSURFMAG


