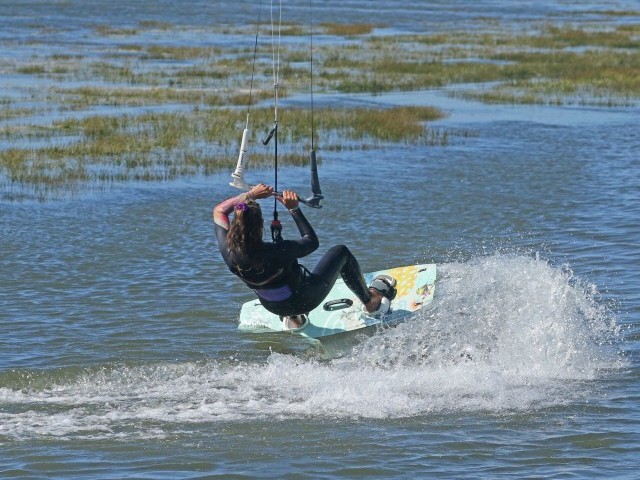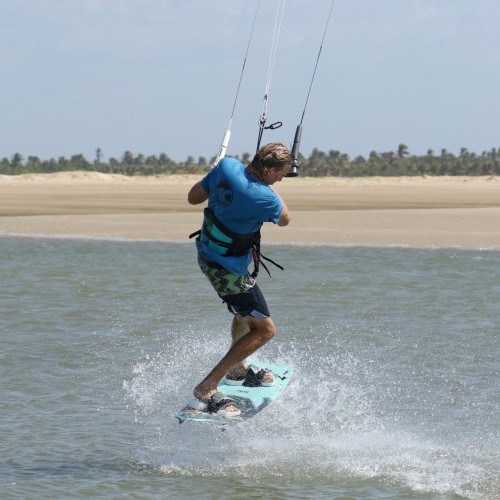
Toeside Pop to Blind with Ole
Technique / Intermediate
Introduction
Back in Issue 96, we introduced you to the pop to blind with a cheeky Ole. Justifiably, we're sure you'll now agree, claiming that it feels oh so amazingly good! Well, as we often do, we'll discourage you from resting on your laurels and follow it up with this variation: the toeside pop to blind with an equally cheeky Ole. And yes, it will feel comparably delicious!
There are two potential hurdles between you and this move. The first is popping from toeside, whilst the second is which side you should try it.
We'll have a look at the popping, but rest assured, the good news is that you don't need big pop or much air between the water and your board to get around to blind.
As for which side? For some, your stronger toeside and your blind will be on opposite tacks. Will you pop off your weak toeside to land on your good blind with a solid Ole already in the bag? Or would you prefer to pop off your strong toeside and gun for a new blind and Ole? This is a choice you can make or an experiment to try. Our preference is to pop off your stronger toeside and go for a new blind.
Let's start off by looking at the crucial moments, kicking off with how to pop from toeside, before moving onto the blind and a little Ole recap.
Approach then Relax Pic A.
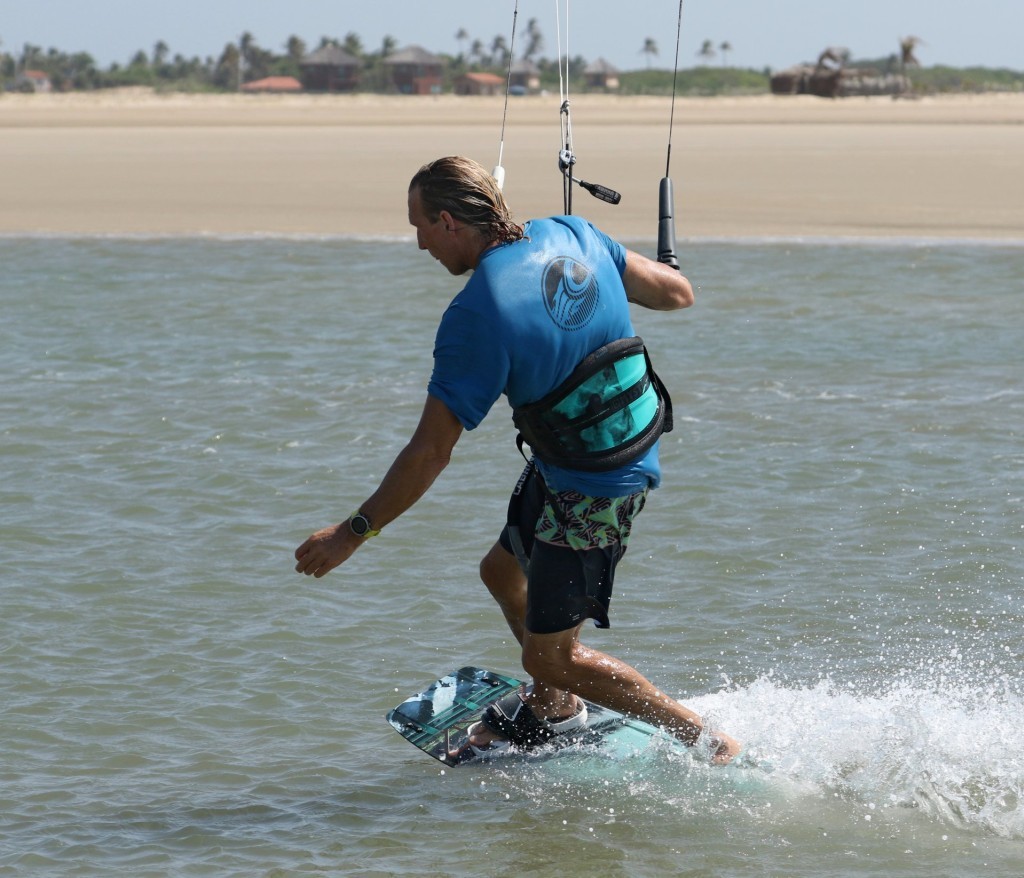
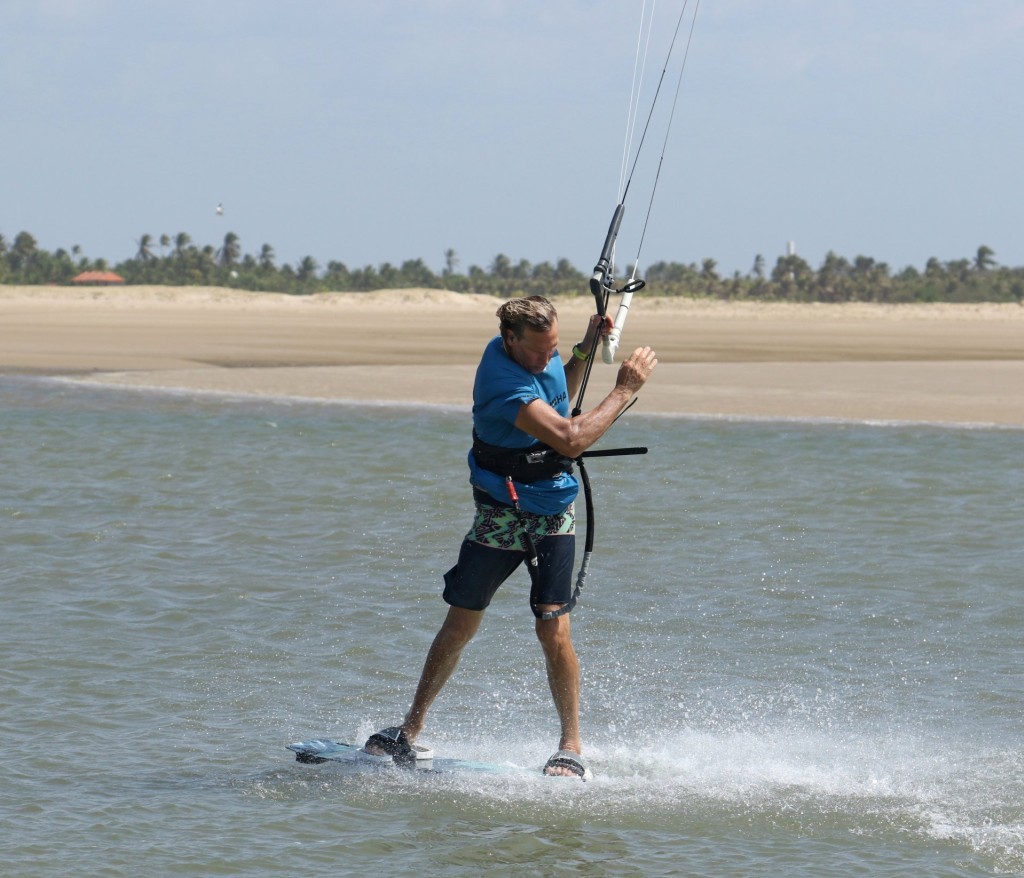
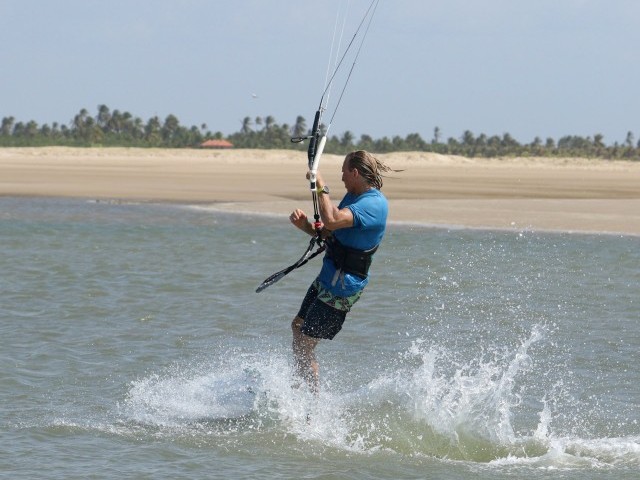
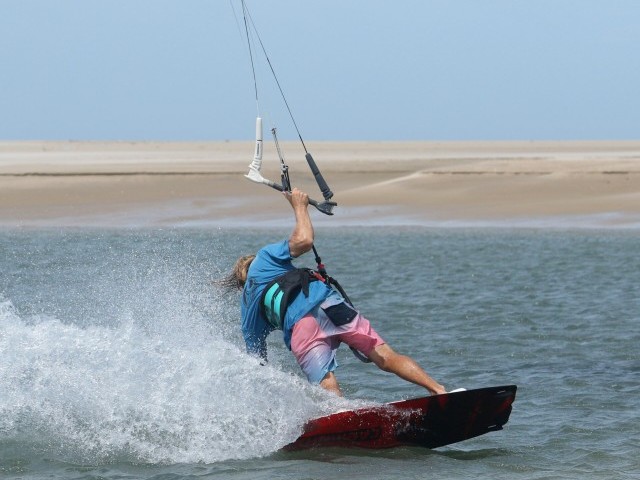
Your approach toeside position is vital to your success. You don't want to be too powered as it will hinder both your pop and your Ole. Approach with your bar trimmed in enough that you can set up and gain speed using two hands, with your kite around 11 or 1 o'clock. You can then release your front hand, which will help face your chest and hips forwards. Keep your shoulders up, your weight committed upwind, and hips/weight centred so you can apply pressure against your edge with both feet. This not only allows you to set up but gives you the base from which to carve and pop. Once on a comfortable edge, you can relax a little to soften your edge. With your edge relaxed, you can stay in position, keep your speed, but release some tension. Depending on how much you relax your edge, your board will change course to more across the wind or slightly off the wind. It doesn't need to be much, just enough to take the pressure off. Christian's back hand is centred on the bar, he's looking forwards, chest and hips are open, facing the nose of the board, knees and feet twist forwards, as he flexes his ankles. He's relaxed his edge and is ready to pop.
The Carve Pic B.
The reason you relax is so that you're ready to carve. You're going to carve into your take-off, and as with all things carving, it's about compressing. At first, your carve doesn't need to be anything radical. In fact, if you carve too hard, you'll end up with too much tension and pressure against your legs, and it'll be impossible to pop. Your aim is to carve back onto your edge and drift the kite up a tad. To carve back onto your edge, you want to use as much of the board as possible. This means keeping weight on both feet. Just like a fine toeside, it all starts with your ankles, flexing them so that you can get your knees across and turn the board. Looking at Christian, he's dropped his weight, pushed his knees across the board, dropped his shoulders forwards, and, as such, the board turns up back onto all of its edge, whilst he drifts the kite up by pulling gently on his back hand. You don't want your kite to go all the way to 12, but a little bit higher will make things easier at the other end.
Take Off Pic C.
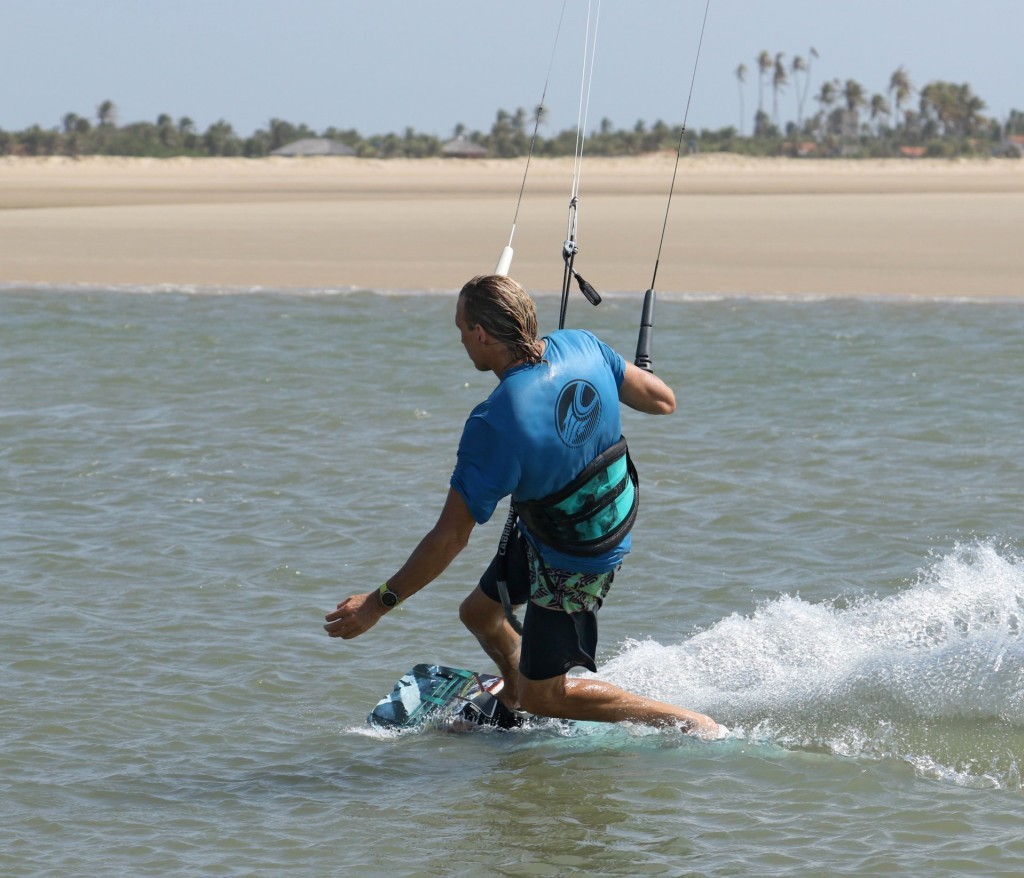
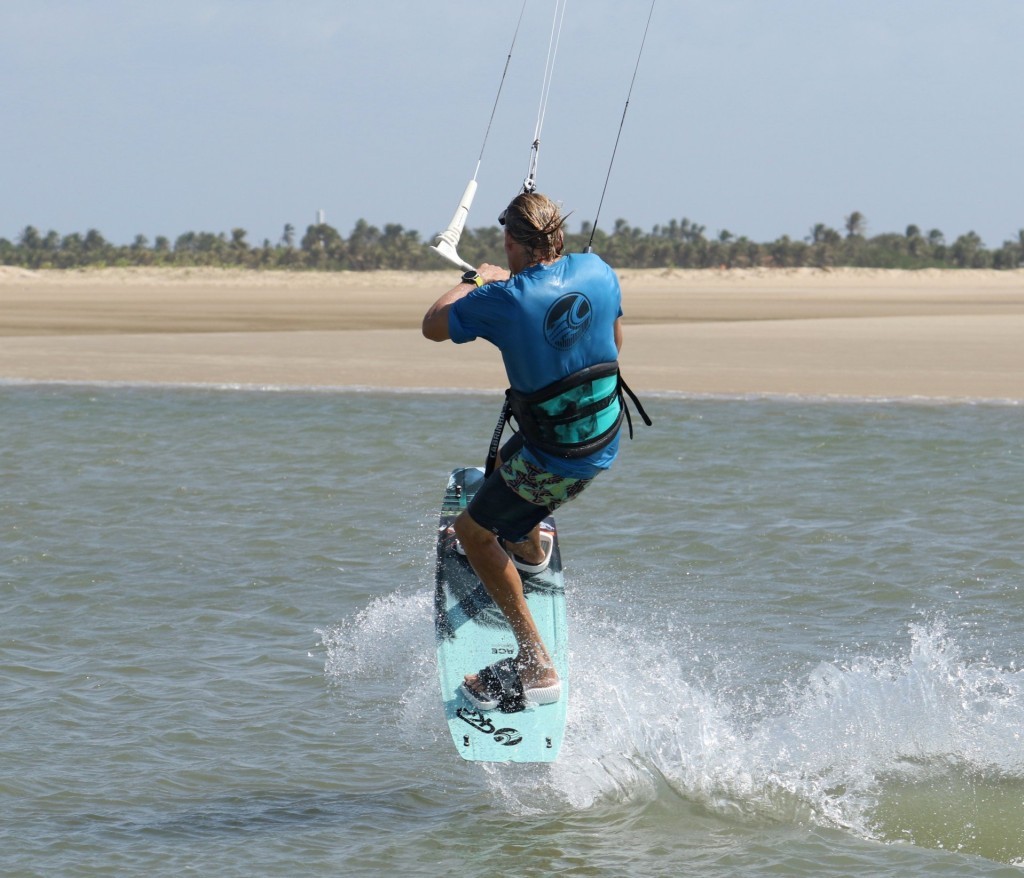
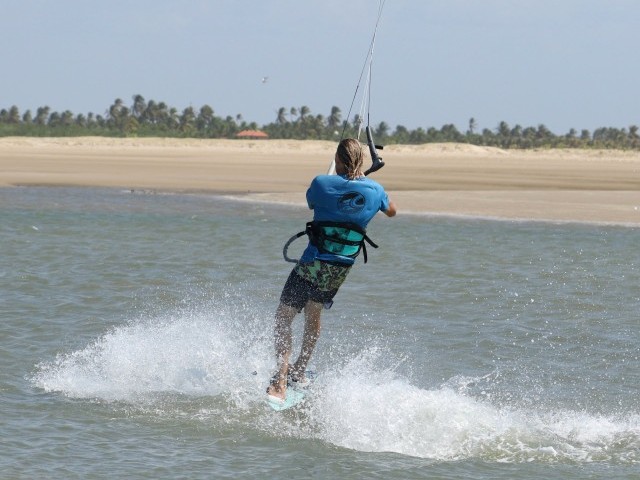
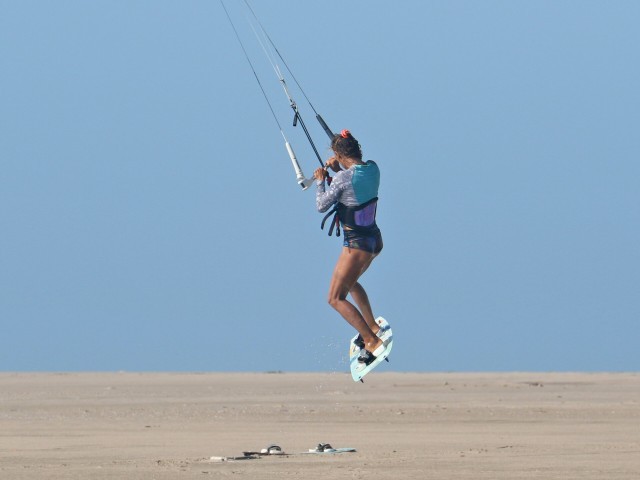
To launch yourself, you use both legs. You will automatically detonate the front leg a fraction of a second before the back leg (because there will be a bit less weight on it) - the popping equivalent of a heartbeat. As your front leg extends, it throws your weight back onto your back foot and the tail of the board, which will enable you to stamp off your back leg with very little pressure against it. Once you've stamped, you can pull the bar in to help you up and keep balance. In the pic, you can see that Christian's front leg is extending. This suddenly pushes his weight back before he extends his back leg, popping himself up and off the water.
All Hands on Deck Pic D.
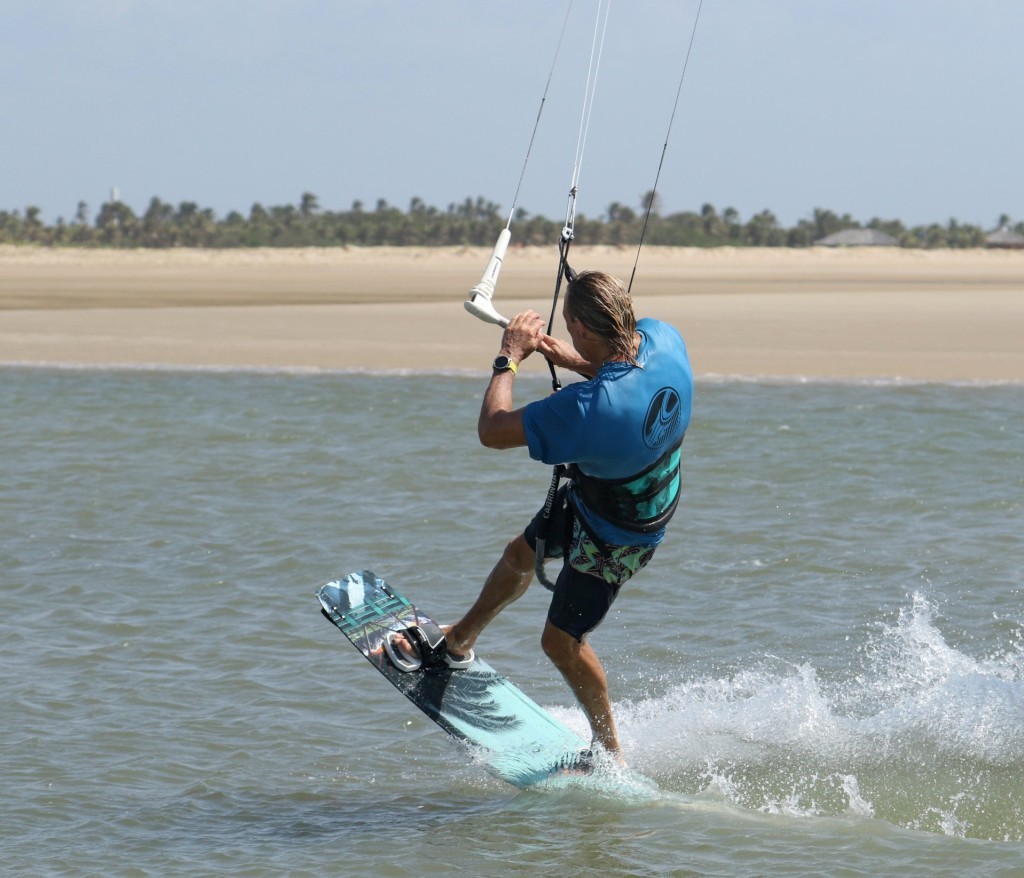
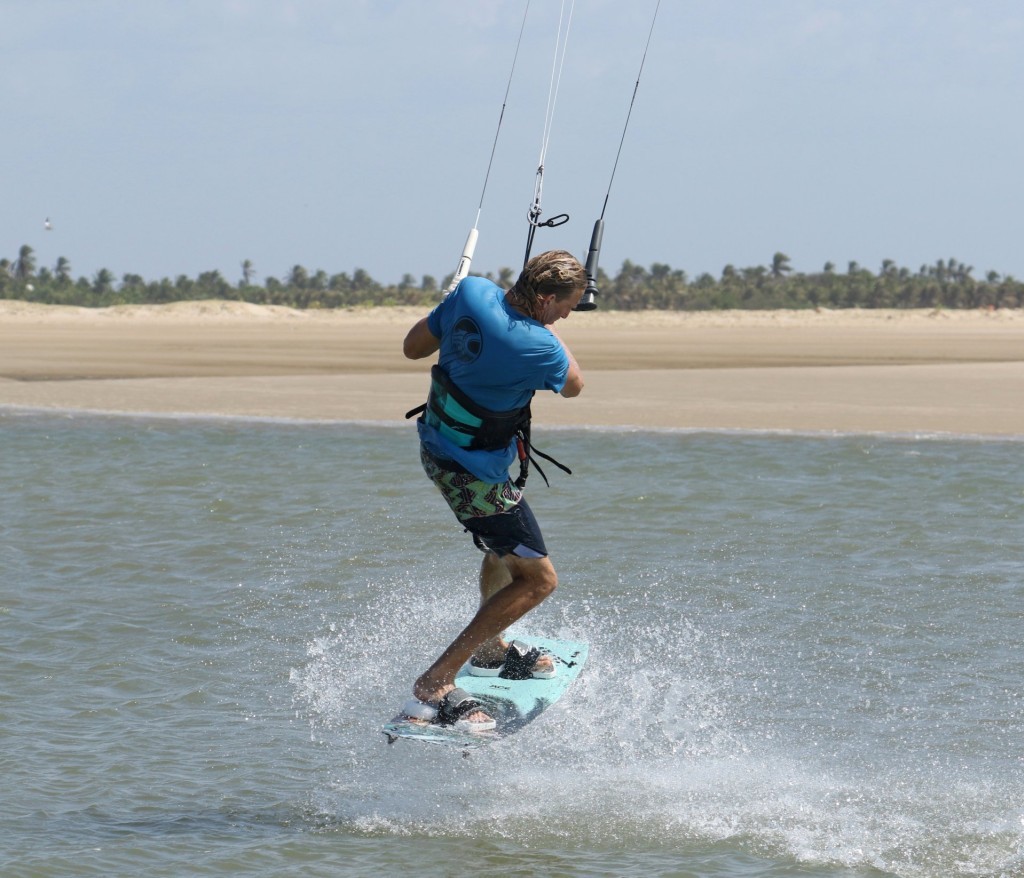
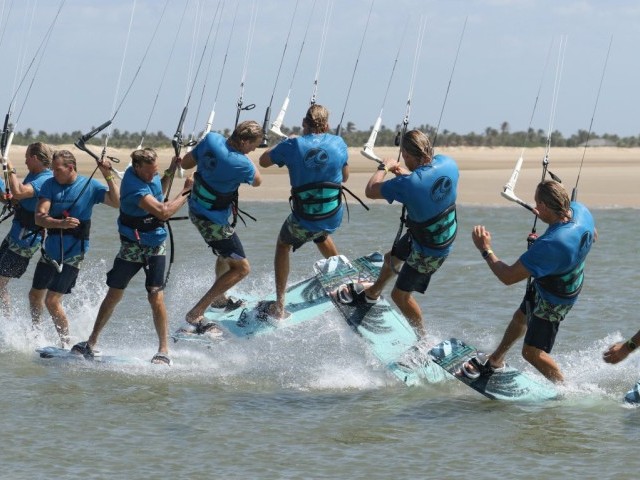
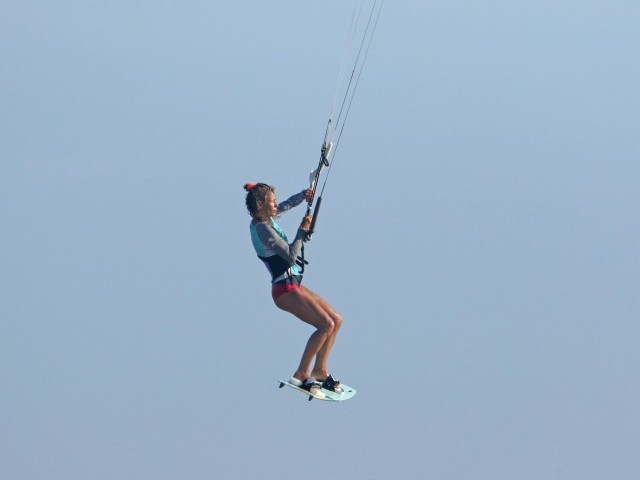
As soon as you're leaving the water, you need to be untwisting back towards heelside and then blind. The great news is that once you set things in action, it's one continuous motion. The simplest way to get things moving is to get your free hand back on the bar. As you reach forward for the bar, it will automatically turn your shoulders. Your hips and knees will follow, and eventually, the board will too. As you grab the bar with your free hand, it will place you in a more upright position over the board, which will help with your rotation to blind. In the photo, you can see that Christian has reached forward to grab the bar, and as a result, he's now upright and the board is turning.
Hand Swap Pic E.
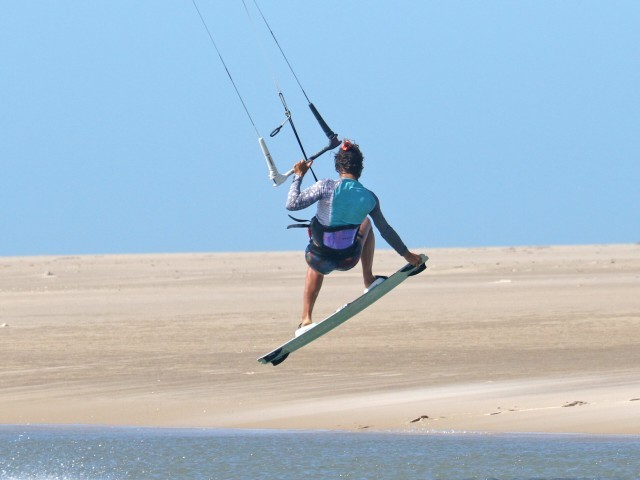
Once your front hand is back on the bar, it won't hurt to give the bar a little tweak, just to get the kite moving slightly forward and away from 12 o'clock. The great thing is that by doing this, you'll grip the bar with your front hand. With a solid hold on the bar, you'll feel free to keep turning. You can see how Christian has lifted his back leg, he's turned his head to look back and is twisting his shoulders away from the direction of travel. In short, he's committing to continue his rotation to blind. The one advantage you have from toeside is that you already have the momentum to help you continue.
Touch Down Pic F.
Push your bar out! The singular most important thing to remember. When you dump power from your kite, you can stay upright and balanced and use your momentum. Keep your back leg up as you come around so that you land slightly "new" tail first. Just like the other Ole, the landing comes first; don't rush into the Ole, or you'll stick the nose in and/or fall back. Land your blind upright and over the board. Here, Christian has pushed his bar out to dump power, and he's landed tail first, upright over the board. Note how he hasn't yet turned his shoulders or head; he's very much in an upright blind stance, still facing back from whence he came.
Heels and Head Pic G.
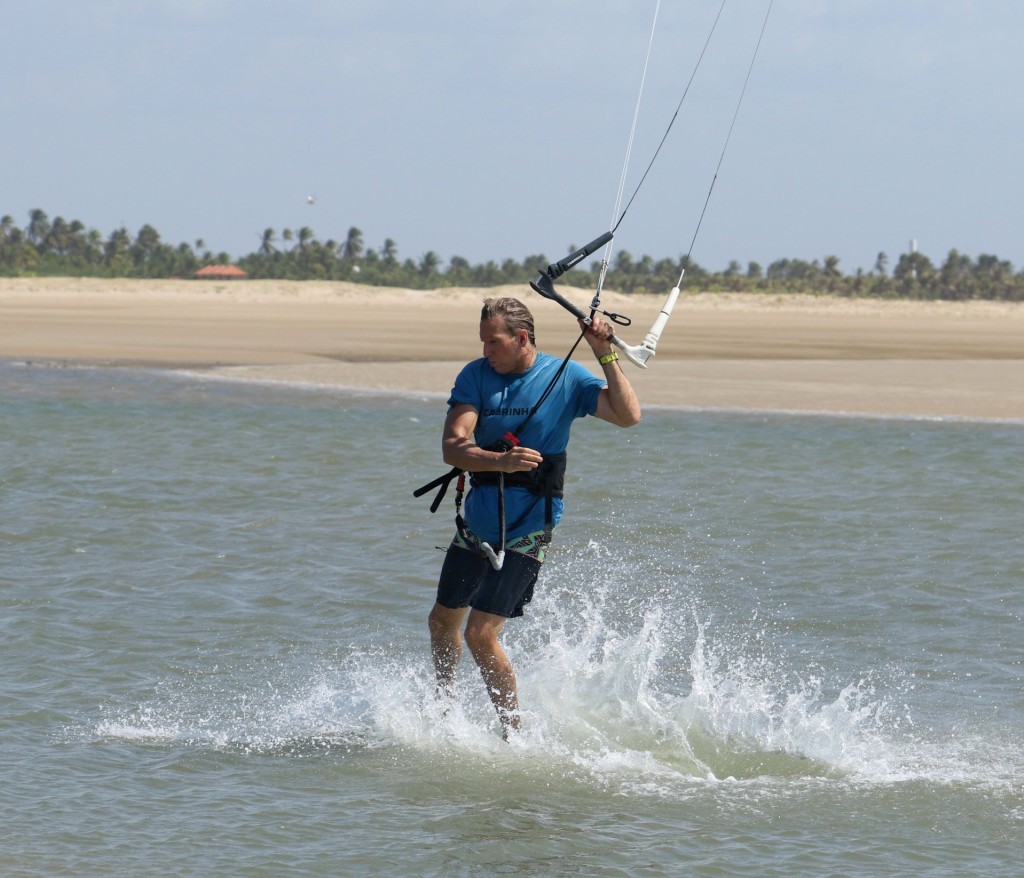
Now, before getting overly excited and pushing your depower main line across your face, you must dump all line tension. The first and most obvious port of call is to push your bar up as far as possible, quite literally depowering your kite completely. The second is to turn your board downwind. With your weight already on your new back foot, you can flex your legs to drop your weight lower and onto your heels and turn your head and shoulders to look forward. This will encourage the board to carve towards the kite, releasing even more tension. You can see that Christian is turning his head and shoulders, he's flexing his knees, and the board starts to carve downwind towards the kite. As a result, there's no hint of an edge, and all tension has been well and truly dumped.
Ole Pic H.
Here we go, the cheeky Ole. With no tension in the lines, you can turn your head and shoulders further to look forwards and push the bar upwind and across in front of your face to Ole. Don't forget to say it! 🙂 Christian is carving on his heels, his lines are loose, and he's turned his head and upper body and can therefore easily push the bar across without rubbing his nose.
End Game Pic I.
As soon as you've got the bar across, get yourself set up to head out toeside. Dive the kite to get some power back on and move your weight across and upwind of the board so that you can carve onto your toeside edge. Brilliant.
Top Tips
For a move like this, flat water will really help you learn, as you'll keep more momentum on landing. With flat water, you'll have more glide from blind, and therefore more time to Ole.
Make this less complicated by trying on the beach first without a board or a kite. Practice a little hop 360 with a virtual hand swap to convince your body that this is a possibility.
For your first attempts, you can start with your kite high. This will rob you of some momentum, but it will potentially make the action simpler.
And remember you don't need much height. Less height with more rotation speed is key.
Now check out the sequence for a step-by-step visual and then the video for a real-time experience.
Common Problems
If you are struggling to kick off from toeside, trim your kite. With too much power pulling against your back leg, it'll be hard.
Landing on an edge. If you're used to blind, this is your default, so it'll take some concentration and practice to override your muscle memory. Approaching with less edge and keeping your body upright will help.
Stuffing the nose in as you land. This is the classic and most common problem. It's a result of trying to rotate all the way around straight into your Ole. If you throw your upper body around, your weight will move forwards, et voila, you'll bury your nose. Land blind, dump tension and only then Ole.
If you're landing over the board but catch your heelside edge and fall downwind of the board. This means that you haven't depowered the kite enough post pop. Make sure you push the bar out, and if that's not helping, try trimming a bit. Being overpowered will not make life easy.
Keystones
- Dynamic toeside approach
- Relax and compress to pop
- Hand swap to rotate
- Bar out to land upright over the board
- First drop weight, turn head and shoulders, then Ole
This technique article was in Issue 101 of IKSURFMAG.
Related
By Christian and Karine
Christian and Karine have been working together as a coaching team, running improver to advanced kitesurfing clinics since 2003.


