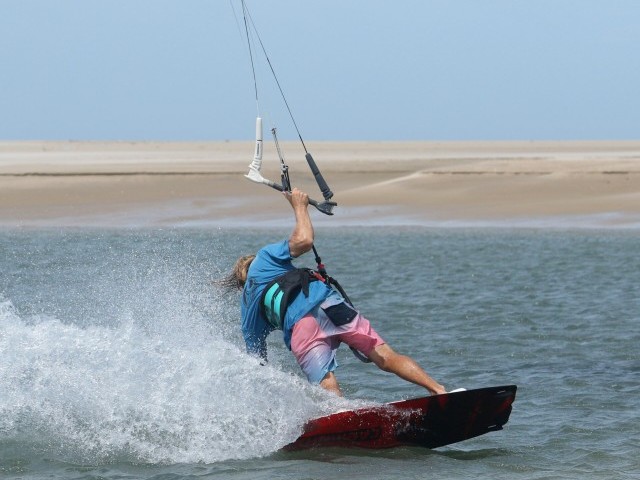
Front Loop to Toeside
Technique / Intermediate
Introduction
We’re starting this issue with the front loop to toeside as although it is in fact quite easy to achieve, it is not something you see very often, and therefore could help you stand out now that those pesky unhookers can’t keep hold of their bars. Being a front loop you can execute this as high or as low as you like, and once its in the bag you can use it for any number of killer combos. Imagine going straight into an underturn, downloop, or even a front loop from toeside as in the last issue, just to contemplate a few?
As you might have guessed the base move is a front loop using the kite, so if you’re not too happy with these, do consolidate them before moving on. However if like many riders you find landing on one side a tad harder, then this could be the answer to your front loop prayers on the side you prefer for toeside. That said if you can’t ride toeside give that some practice first as well!
Proving a Point
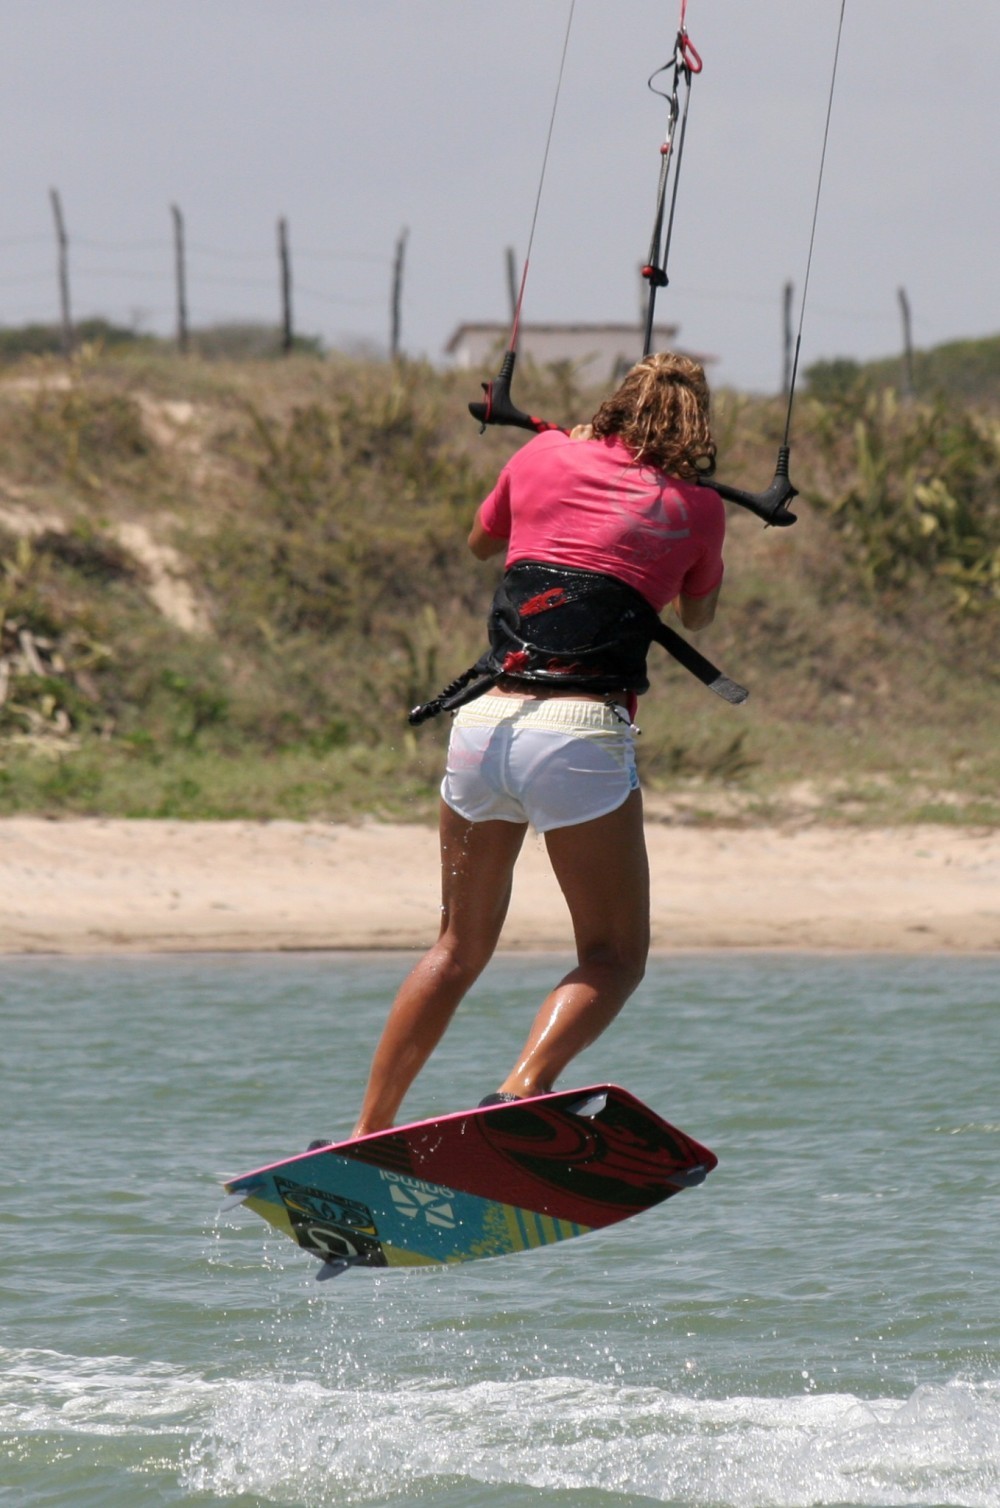
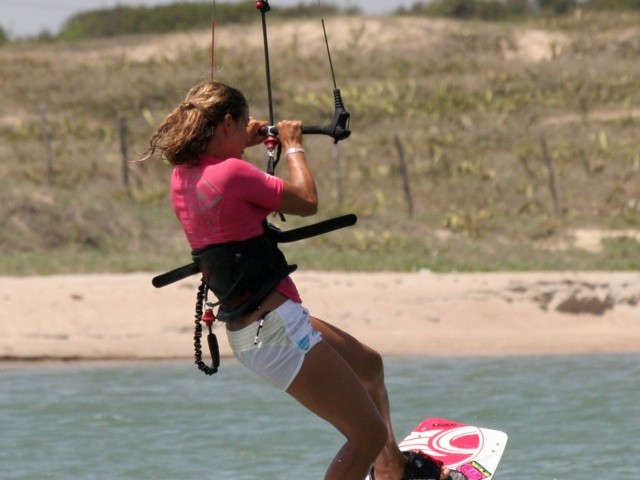
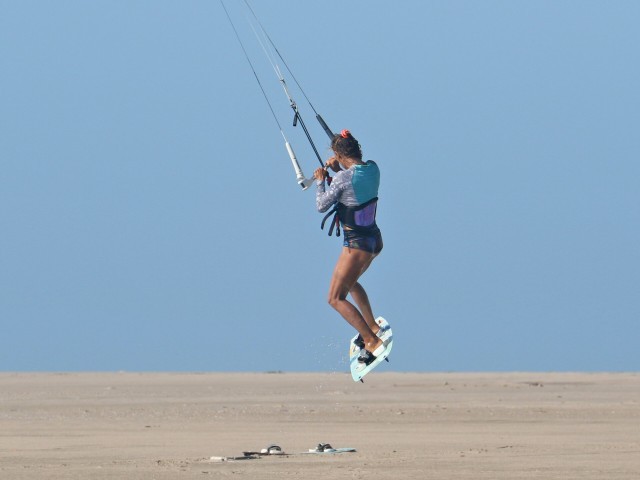
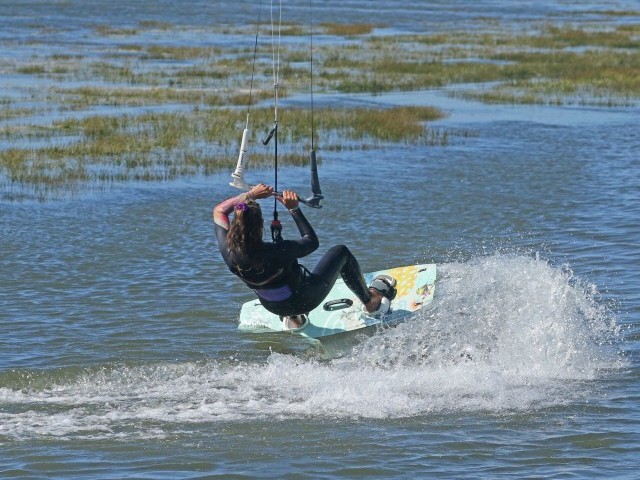
Have a butchers at Pic A. Karine will be performing a front loop to toeside riding from left to right. This means that she’ll be kicking off her left leg for take off but will be landing on her right leg! You can see Karine in the moment just after take off. At the moment it is exactly the same movement of kite and body as for a bog standard front loop. Having approached with good speed, on a good edge Karine then sent the kite back. As usual as she takes off she has initiated her front loop by throwing her head and shoulders down and around and kicking off her back foot. Also having sent the kite Karine needs to get it moving forward above her again, so she keeps the bar in and steers her kite forward. So far this should all be fairly run of the mill for you front loopers.
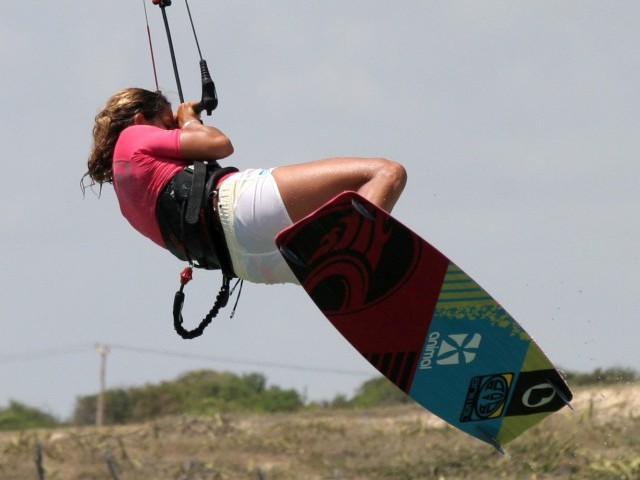
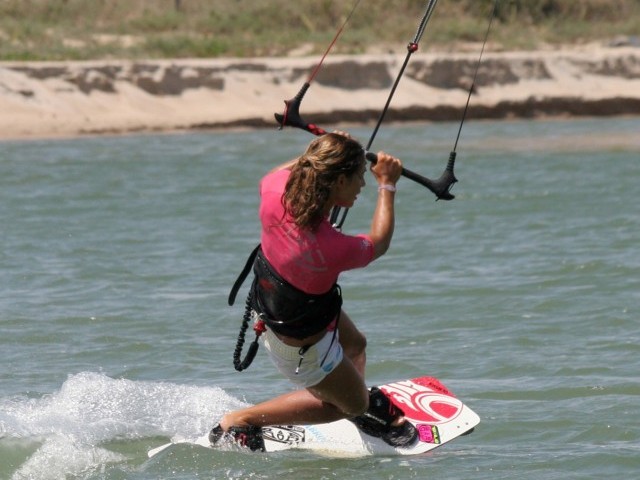
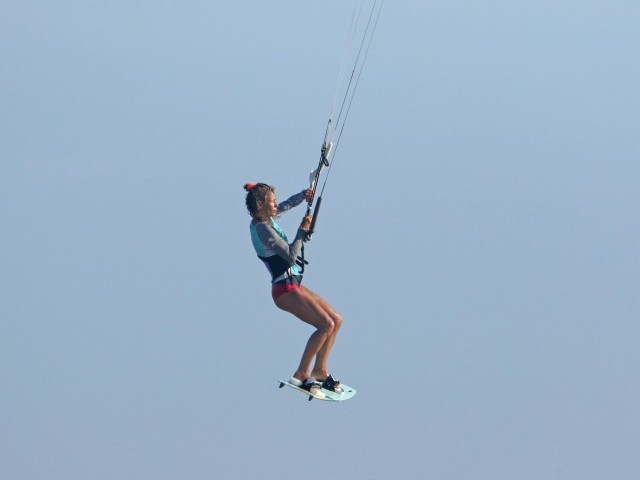
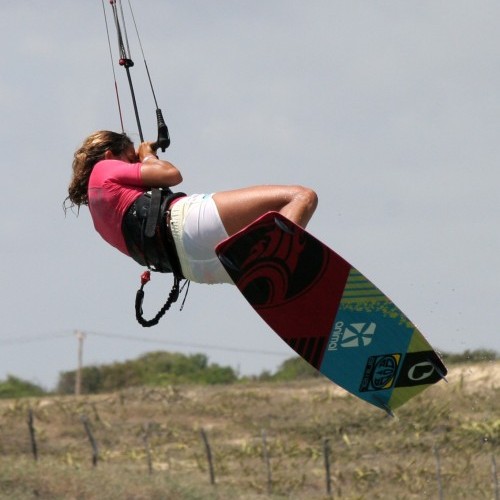
Pic B. shows Karine about half way through her front rotation, at the moment when her body is facing upwind. We could have put a picture of a normal front loop and run a spot the difference competition, but rather we’ll keep focused on the move here. To land toeside Karine will need to land on right foot, which should hopefully also be her back foot at the time. To achieve this she needs to get her left foot pushed out in front of her. The simplest way to get your body to understand this is to keep your original back leg fairly straight as you go around the rotation. You need to bend your front leg to rotate forwards, and your back leg will straighten as you push off it, so at least you’ll be going with the flow. You can see here that Karine’s left leg is fairly straight and hanging down, which will make it more natural for her body to push it forward for landing. Just to be clear in a normal front loop you’d have both legs up and bent. All this said Karine still needs to rotate all the way around with her head.
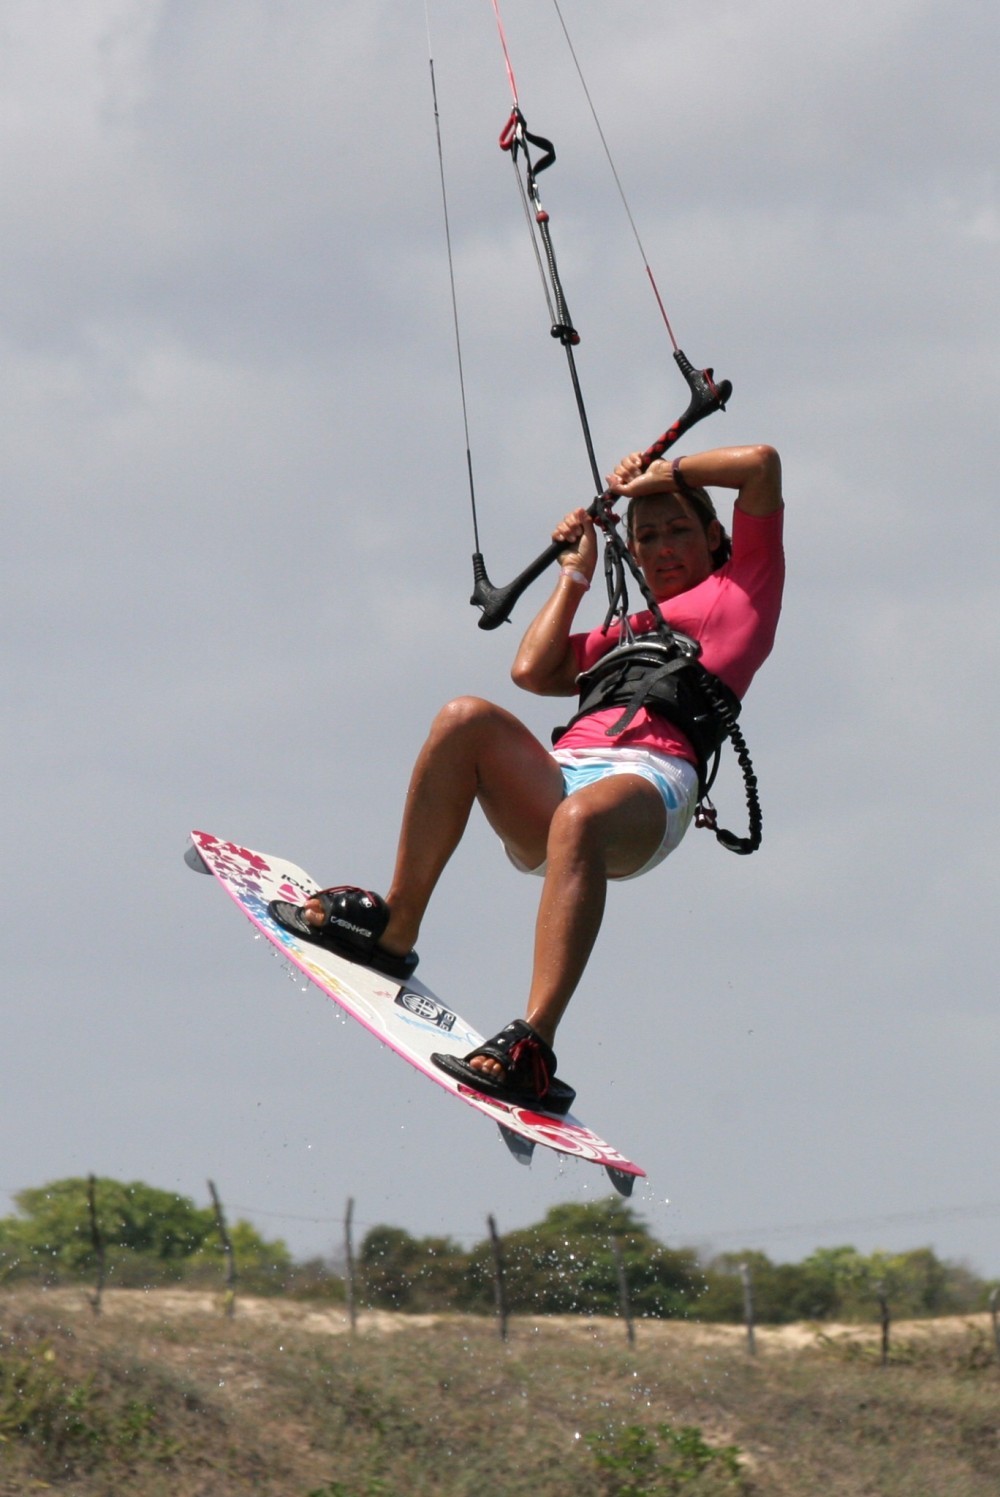
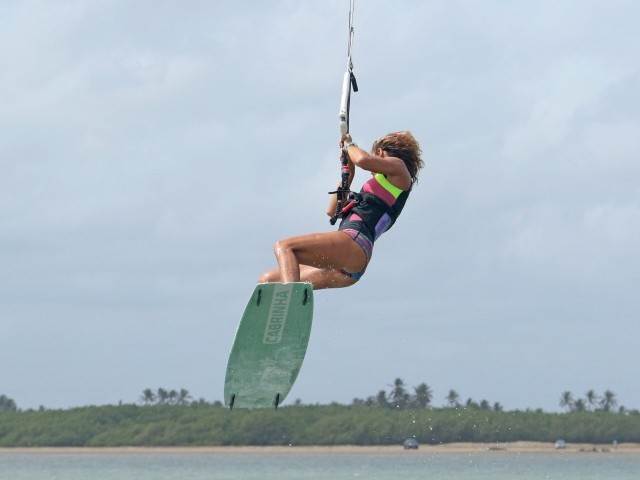
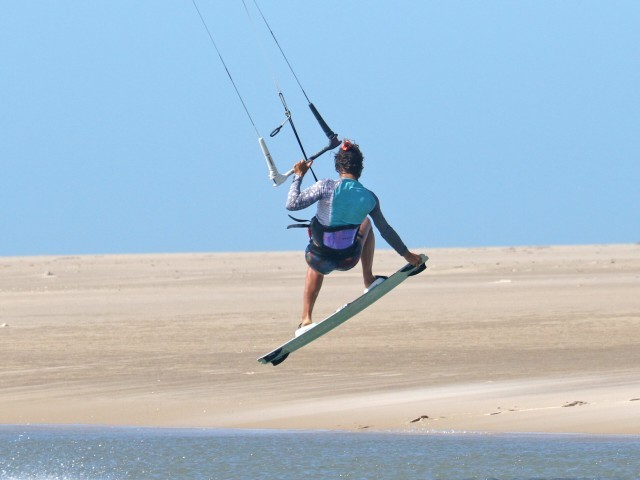
Pic C. As Karine rotates further so that she can now see where she will land she has a couple of tasks. Firstly she needs the help of the kite to pull her downwind for her landing, so she must keep the bar in and the kite moving forward above her by diving with her front hand. If she lets the bar out the kite will get left behind and she’ll drop under it. She also needs to get ready for the toeside landing. From this angle you can see that Karine is keeping her front foot up and close to her by keeping her knee up. With the foot under her it will feel more natural to land on. However you can also see that she is pushing her straight left leg out in front of her. Although at the moment it may not look much like a downwind toeside landing possibility, just imagine the kite pulling from the right of the picture. It would effectively pull her over the board into a perfect position for a toeside landing.
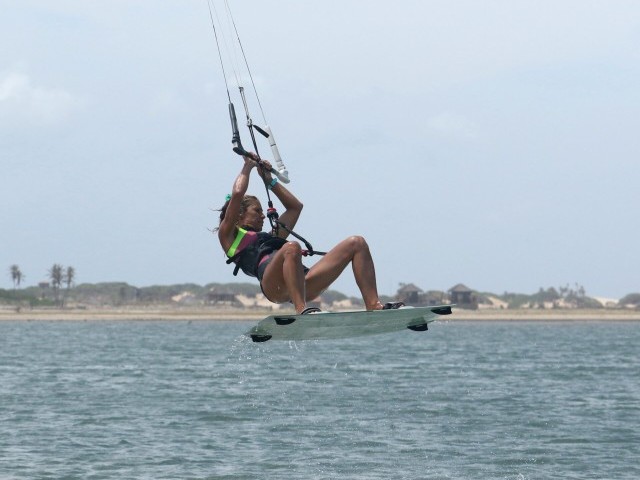
Pic D. Which is exactly what happens here. As the kite comes over Karine and she drops down towards the water, the board drops beneath her and hey presto, its ready for a downwind landing with her left foot leading. The trick here is for Karine to get a bit of weight forward onto the new front of the board, otherwise she sink the tail and stop. The harder she dives the kite the further forward her weight will go, so she gives it some welly.
Pic E. Just after touching down you can see that Karine’s kite is pulling because she dived it hard, really important. This means that she landed on a relatively flat board, so she maintains her speed. Now she is able to carve the board onto a true toeside path by dropping her weight to windward, turning her head to see where she wants to go driving through the balls of her feet.
Knowing the fundamental and crucial parts lets have a look at a flowing sequence to put it all into real time.
Following Sequence 1
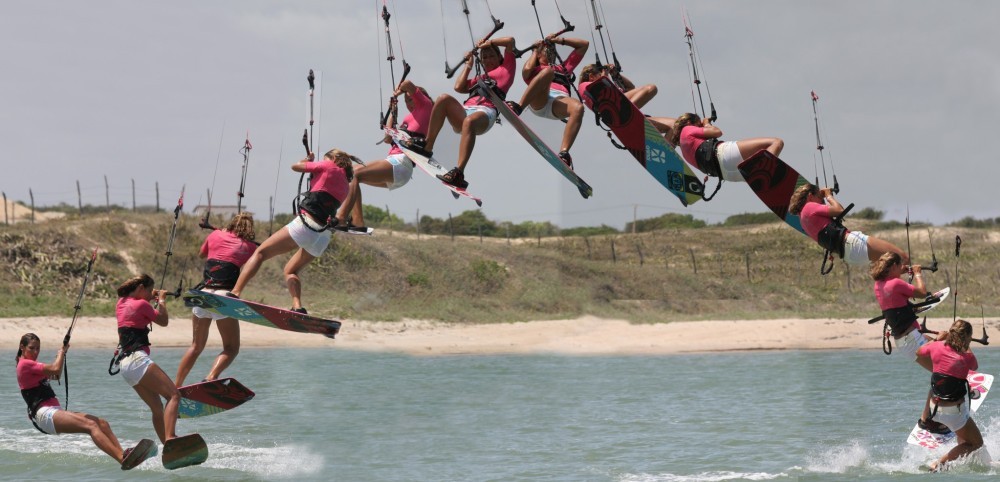
- Pic 1. Karine approaches with comfortable speed on a solid edge with her kite around 1 o’clock. She sends the kite back with an aggressive pull on her back hand, edges harder by turning upwind more and resists the pull in the kite by driving against her legs and dropping her weight.
- Pic 2. As the kite starts to lift her Karine throws herself into her front rotation, kicking off her back heel, throwing her head and shoulders down and around and keeping the bar in.
- Pic 3. Going up Karine concentrates on redirecting the kite by pulling gently on her front hand.
- Pic 4. Karine focuses on not bringing her back leg up. However she still needs to concentrate on getting around the front loop.
- Pic 5. So she keeps looking over her back shoulder in order to keep turning.
- Pic 6. Half way around, Karine needs to have the kite above her, so she still pulls on her front hand. Her back leg is straight and her front leg bent.
- Pic 7. As Karine comes around enough to see where she will hopefully land, she starts to dive the kite to help pull her out of the move and give her some downwind momentum.
- Pic 8. In preparation for toeside Karine really pulls her right leg up, so that her foot is under her bum.
- Pic 9. As Karine drops down she must keep tension on the lines so that the kite will pull her, so she (still) keeps the bar in.
- Pic 10. Karine drops her feet underneath her by extending her legs, concentrating on keeping her left foot out in front.
- Pic 11. Karine aims to land tail first so she lets her right leg straighten beneath her.
- Pic 12. As the board touches down Karine’s forward momentum from diving the kite and keeping the bar in pulls her forward for a clean reception. Once she has her balance Karine can carve onto her toes.
Top Tip
The essential difference between landing toeside and heelside is that you bring your front foot all the way “through” to land downwind heelside. Landing toeside you still have to complete a front loop, with your head. Your shoulders need to turn so that they face forward and it is only your legs that get left behind. So do go for the full rotation even though it may not look like one.
Common Problems
1. Getting your body to toeside can seem a bit of a struggle at first, because you are trying to twist your back shoulder past the bar and chicken loop. On the water you would sheet out to give yourself room. However in the air that is the last thing you can do. The solution is to keep pulled right up to the bar and let the kite do the work. If you are hanging onto the bar as soon as you dive the kite it will pull you up and over the board into a perfect toe side landing.
2. The second as you may have guessed is not flying the kite during the jump. As you’ll be concentrating on getting your body to toeside it is easy to leave the kite behind you, but without the pull of a diving kite at the landing stage it is not easy to land. That said if you can get the rotation and drop into the water toeside, then to add the landing should be easy enough once your mind and body are ready.
Keystones
- Send the kite
- Throw the rotation
- Keep back leg straight
- Pull front leg under your bum
- Dive the kite hard
This technique article was in Issue 24 of IKSURFMAG.
Related
By Christian and Karine
Christian and Karine have been working together as a coaching team, running improver to advanced kitesurfing clinics since 2003.


